
Thanks to everyone who has bought my book so far. If you haven’t, check it out here.
In other news, I think I may have broken my nose, and I don’t even have a good fight story to tell. I was lying on the ground reading a book with my iPad upright on my chest. Somehow I managed to let go of it, and it fell forward onto my face and hit the bridge of my nose. Could that story be any more pathetic? Since Episkey didn’t work for me, I guess I will just have to wait for it to heal. Whoever said reading wasn’t dangerous was wrong.



Fortunately I don’t need my nose to make cookies, just my hands (and mouth for tasting). Since these cookies don’t go in the oven, I don’t even need my sense of smell to know when they’re done. But I can, in fact, smell just fine.
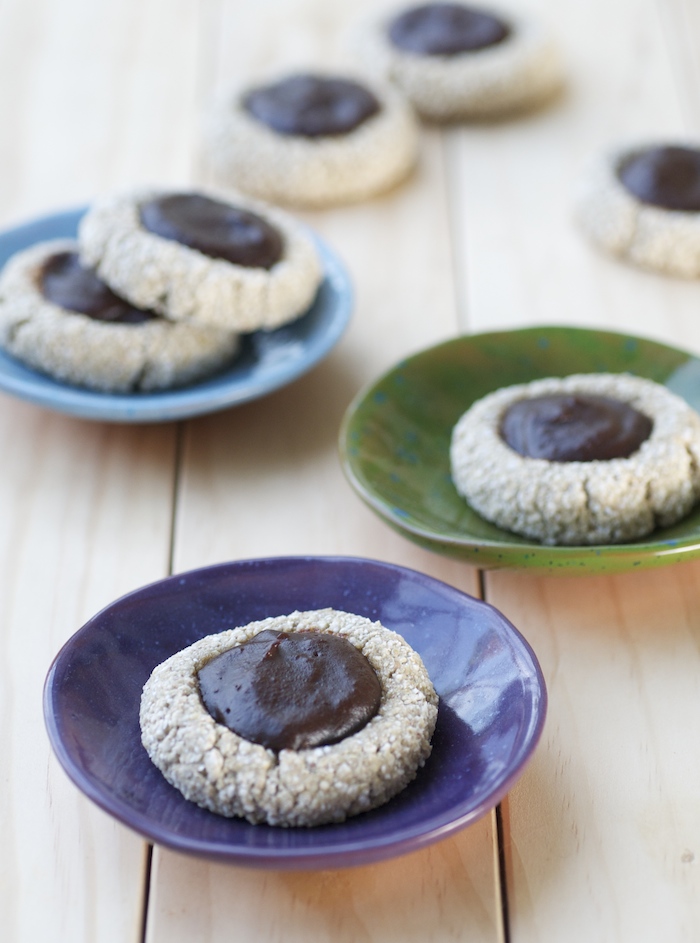

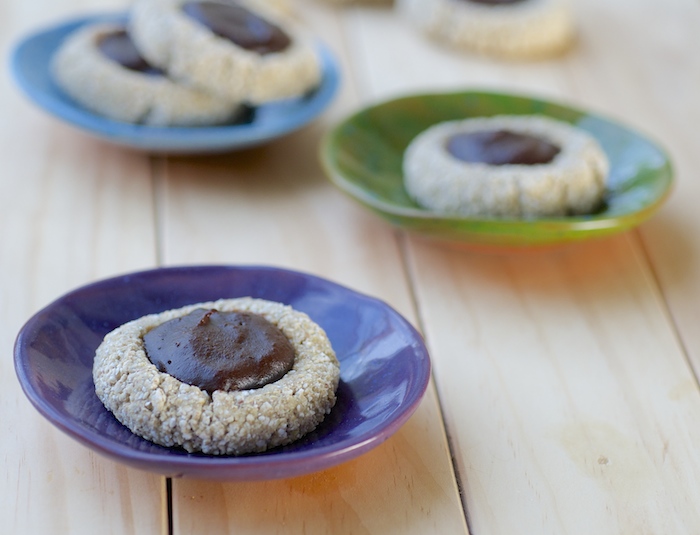
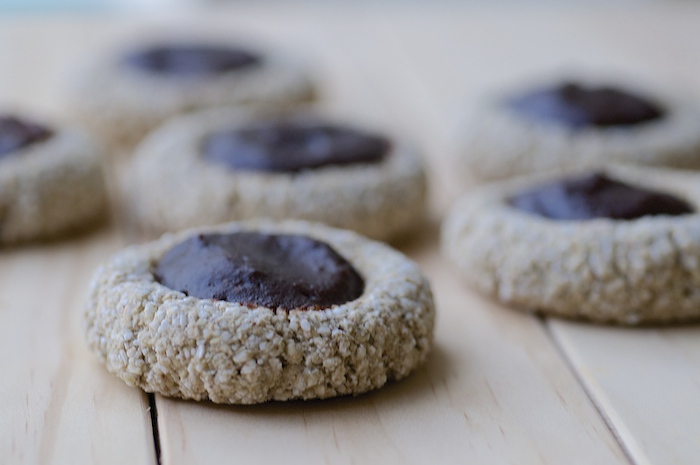
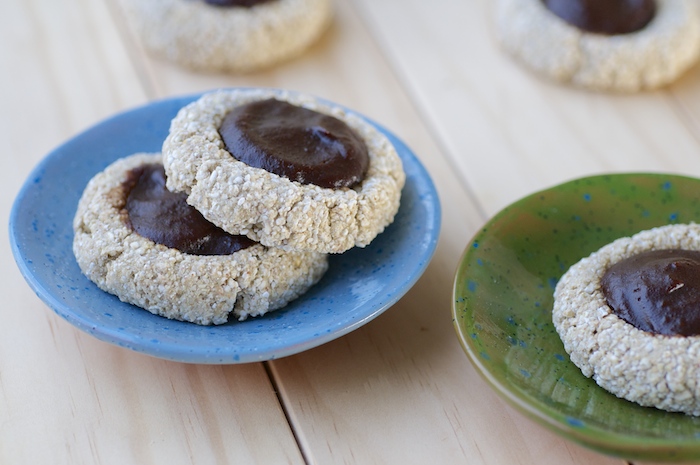
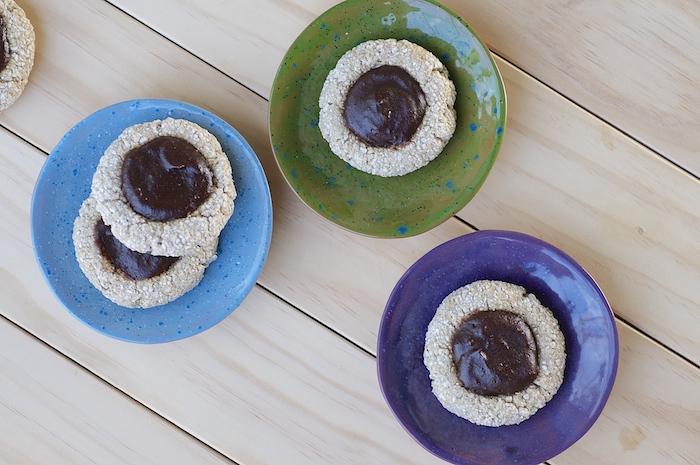
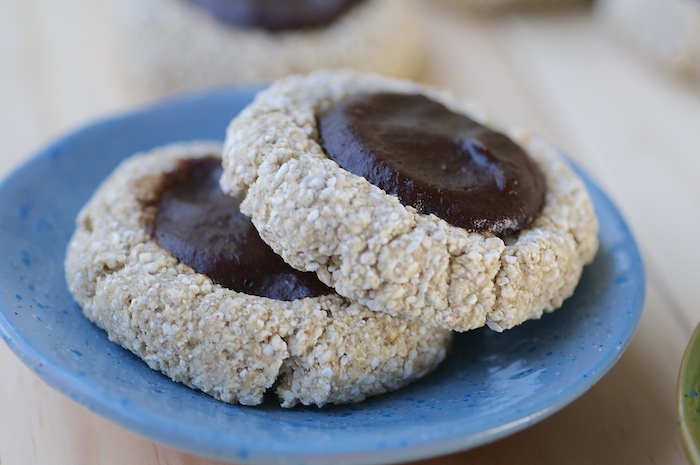
Fudge Thumbprint Cookies
Makes 8-10 cookies
1 cup buckwheat
1/4 tsp salt (optional)
1/3 cup agave nectar
2-3 tbsps water
Fudge Filling
1 cup pitted dates
2/3 cup non-dairy milk
2 tbsps cacao powder
- Grind the buckwheat in the food processor.
- Add the salt (if using) and agave nectar. Add the water slowly while the machine is running. Process until the dough sticks together. It won’t necessarily form a ball on its own, but it should stick together when squeezed. Add more water if needed.
- Roll 8-10 balls, and flatten them into thick (1/2″ or so) cookies. Make a deep depression in the middle of each cookie with your thumb (hence the name), or a spoon, cup, jar, etc.
- To make the filling, blend all the ingredients until smooth.
- Spoon about 1 teaspoon of the filling onto each cookie. You will have extra.
- Dehydrate for 4-6 hours.




Hi Natalie! I just found your blog about a week ago and have tried out a few of your recipes. So far so good! They have been delicious. I have quite a few dietary restrictions that have come up recently, and your blog has made it possible for me to still bake 🙂 so I thank you for that! Had a quick question about these…..I don’t have a dehydrator, so would it be possible to still bake these thumbprint cookies, and then add the filling after they cool, or would that not work? Thank you!
Hi Sidney! So glad you found the blog and like the recipes! I’m glad you are finding ways to bake around your dietary restrictions 🙂 And yes I do think these would work in the oven, although I’m not sure exactly how long to tell you to bake them for since I haven’t done it myself. You could also bake them partway, add the filling, then finish baking them since the heat helps the filling to kind of set as well. Good luck!