Easy and versatile Homemade Almond Milk in the Vitamix – step-by-step instructions and video tutorial. Plus a delicious snack idea to not waste the pulp!


THIS POST IS SPONSORED BY VITAMIX.
We’re getting reeeeeeeeeeal basic today.
Because if there’s one thing that recipe development has taught me, it’s that the basics done RIGHT is almost always better than some funky fantasy recipe no one even asked for (ahem, superfood swirl bars).
It doesn’t get much more basic than Homemade Almond Milk. It also doesn’t get much more versatile/easy/game-changing fridge staple than homemade almond milk. And you haven’t had a matcha latte until you’ve had one with homemade almond milk. But that’s for another day.
I happen to be sipping a matcha latte right now, but this stuff goes WAY beyond lattes. Think: on top of cereal, in extra creamy smoothies, turned chocolate milk (recipe below!), baked into cake, no-baked into pie, blended into ice cream, gelled into chia pudding, DO YOU SEE WHAT I MEAN? There is no limit with this stuff. And no matter what you make, it always adds a little extra richness the carton stuff can’t.
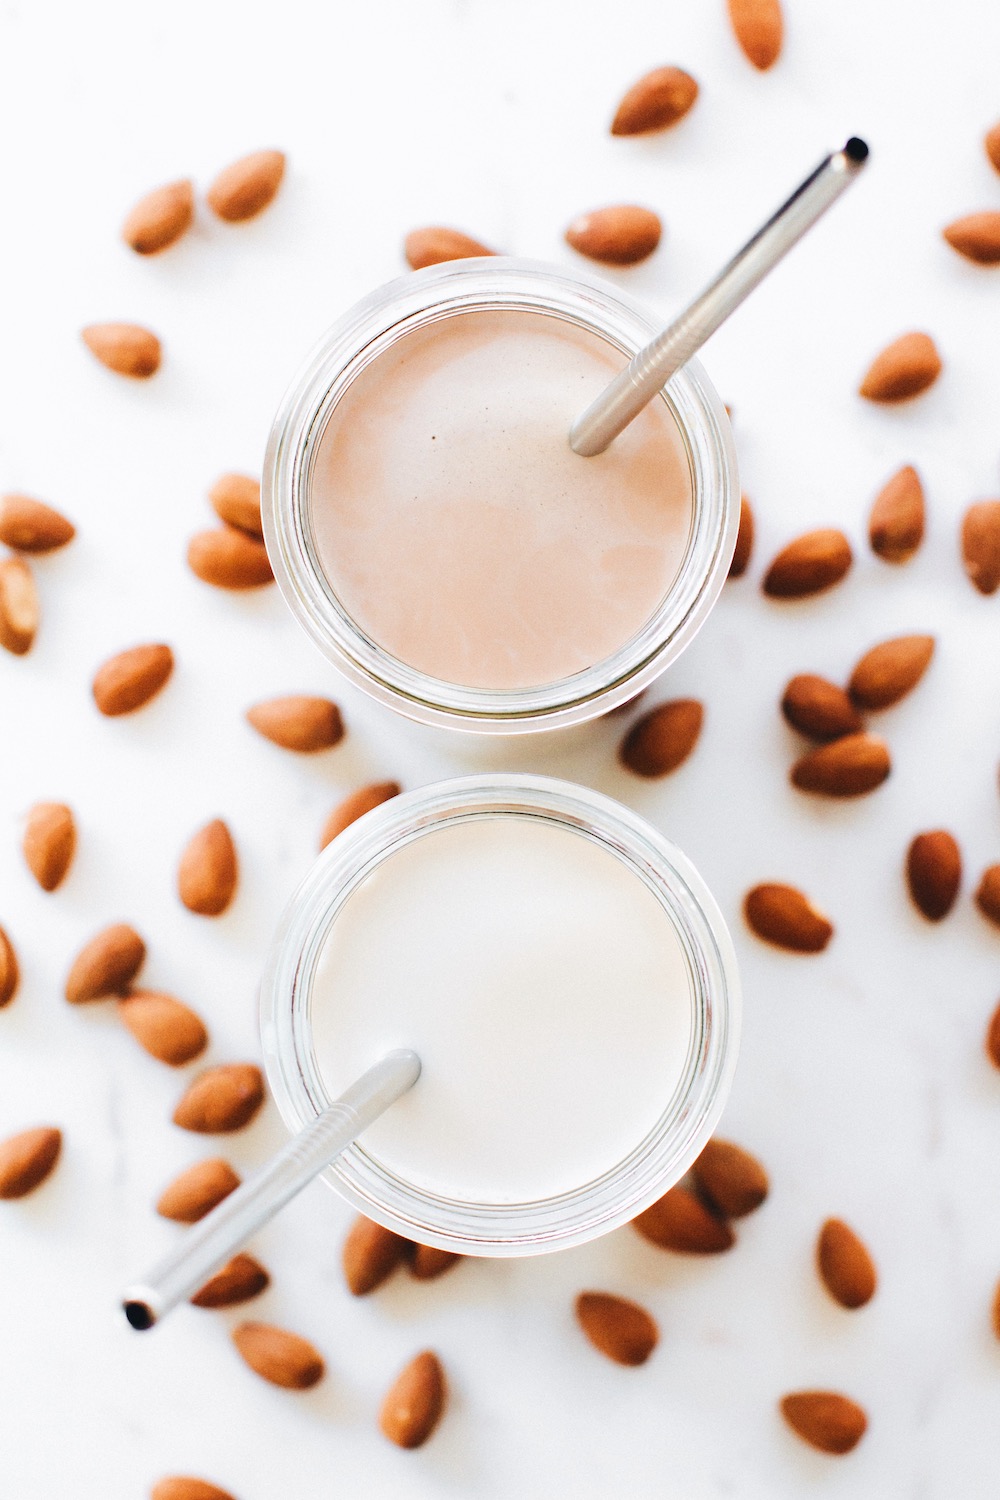

So say hello to your new DIY dairy-free best friend.
And say hello to your old bestie the Vitamix, who made this beautiful new friendship possible.


I’m gonna guess your relationship with homemade nut milk falls into one of three categories:
- Make it weekly, never going back.
- Why though when it comes in a carton?
- Know it’s better. Know you should. Just can’t get in the habit.
If you are in camp one, you probably know the ratio by heart, have tried it with at least four different kinds of nuts and a couple of seeds, and have a glass jar in your fridge exclusively dedicated to Homemade Almond Milk. So skip to the granola part, and try out a new snack use for that pulp.
If you are in camp two, I’ve got at least one carton in my fridge at all times too so I’m not judging. Unsweetened vanilla is my jam.
If you are in camp three, this is your moment. This is your motivation to finally get in the habit, or at least a nice little nudge to make it more often. A nudge in the form of granola.


So let’s break this down.
Soak the almonds. Okay this part does semi annoy me because I always forget to do it ahead of time and then I want to make almond milk NOW. But patience is good for me. You can either soak them for 1-2 hours in hot water, or 4+ hours in room temperature water. I usually opt for the speedy hot tub style soak (patience in baby steps, okay).


Drain. And rinse off that now-funky soaking water.
Add to the Vitamix with 4 cups of water. I’m using the Vitamix A3500 here, it’s my go-to machine for…well…everything!


Blend. On high speed. For longer than it feels like you should. But you want to maximize the milky-ness of your almonds. Usually 1-2 minutes is good, and luckily the Vitamix has a convenient built in timer so we don’t have to one mississippi, two mississippi, three mississippi…
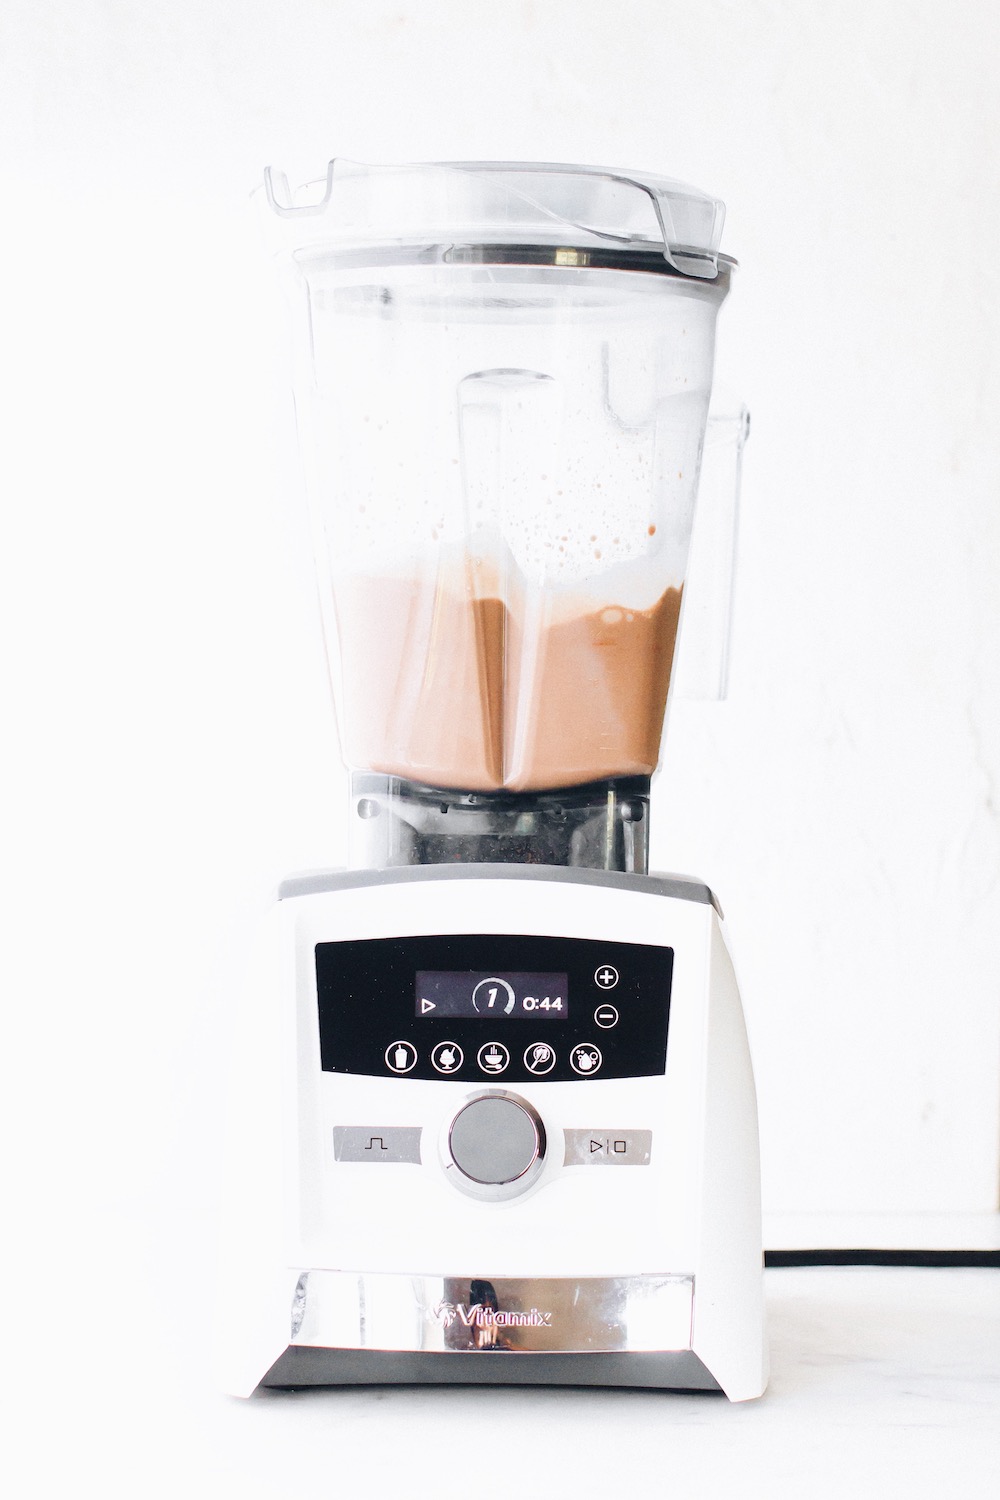

Strain. Using a nut milk bag or cheesecloth so you can SQUEEZE out as much milk as possible. And save the pulp for forthcoming granola-making matters.
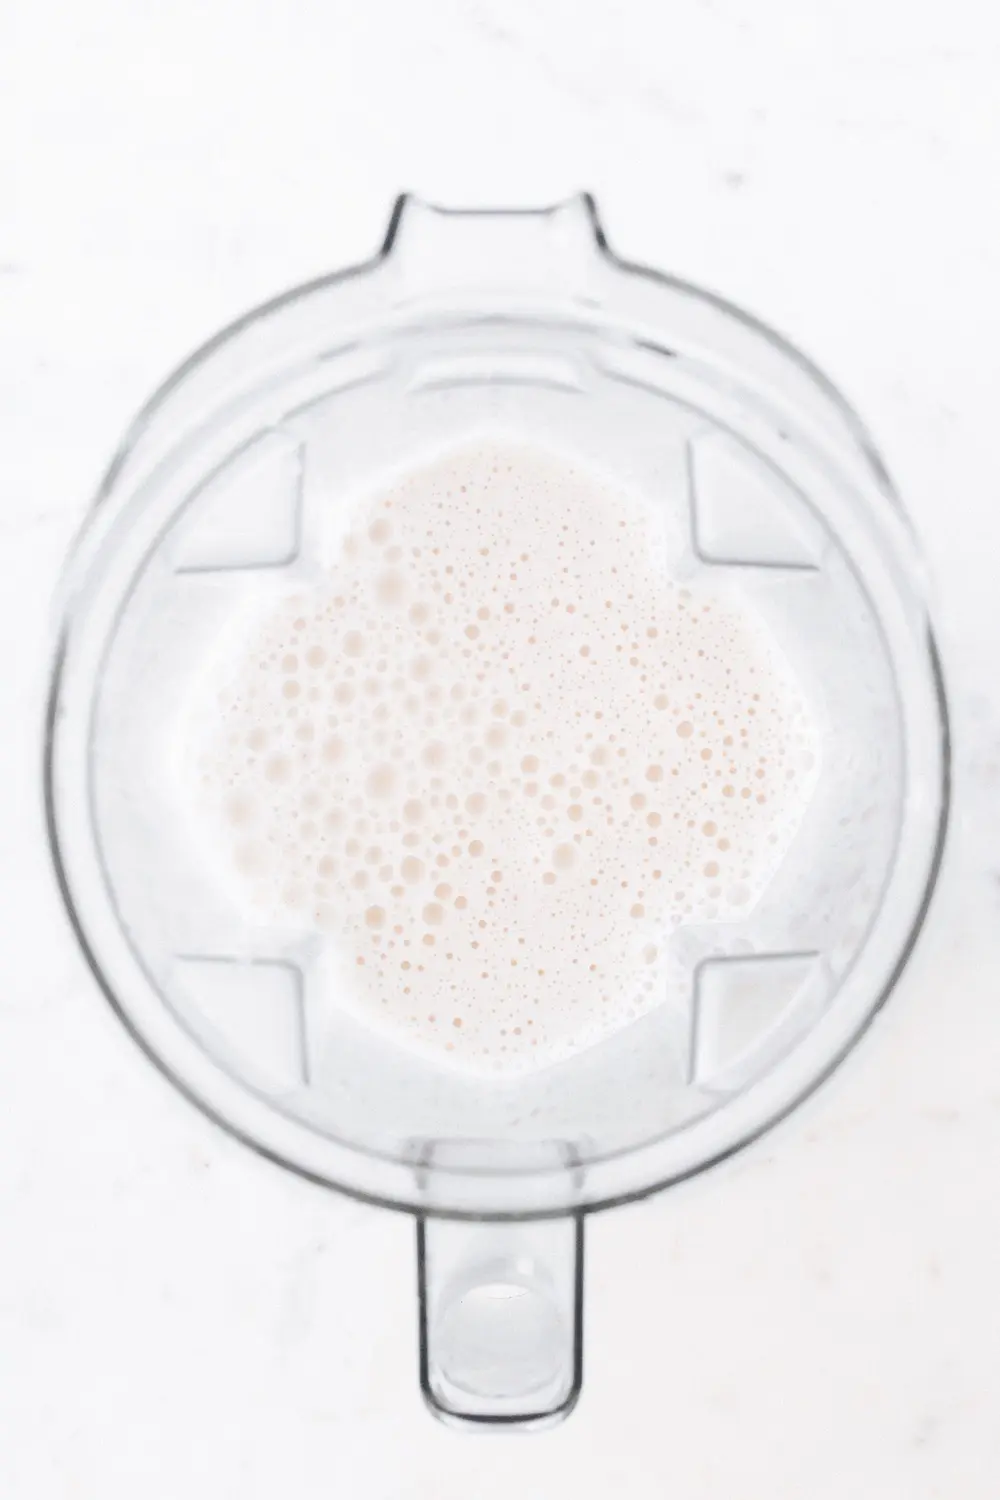

Refrigerate. Because this is homemade without preservatives or gums, it won’t last the forever that store-bought nut milk can. I’d say 4-5 days or so. You will also need to shake it before using. But the superior flavor and consistency make it all worth it. I mean IT ACTUALLY TASTES LIKE ALMONDS.
Or turn it into chocolate milk by blending again with cacao powder, a touch of sweetener (I used maple syrup), and a pinch of salt.


Because we love a) not wasting food and b) snacks, we’ve got plans for that pulp. Big, delicious, crunchy, addictively salty/sweet plans.
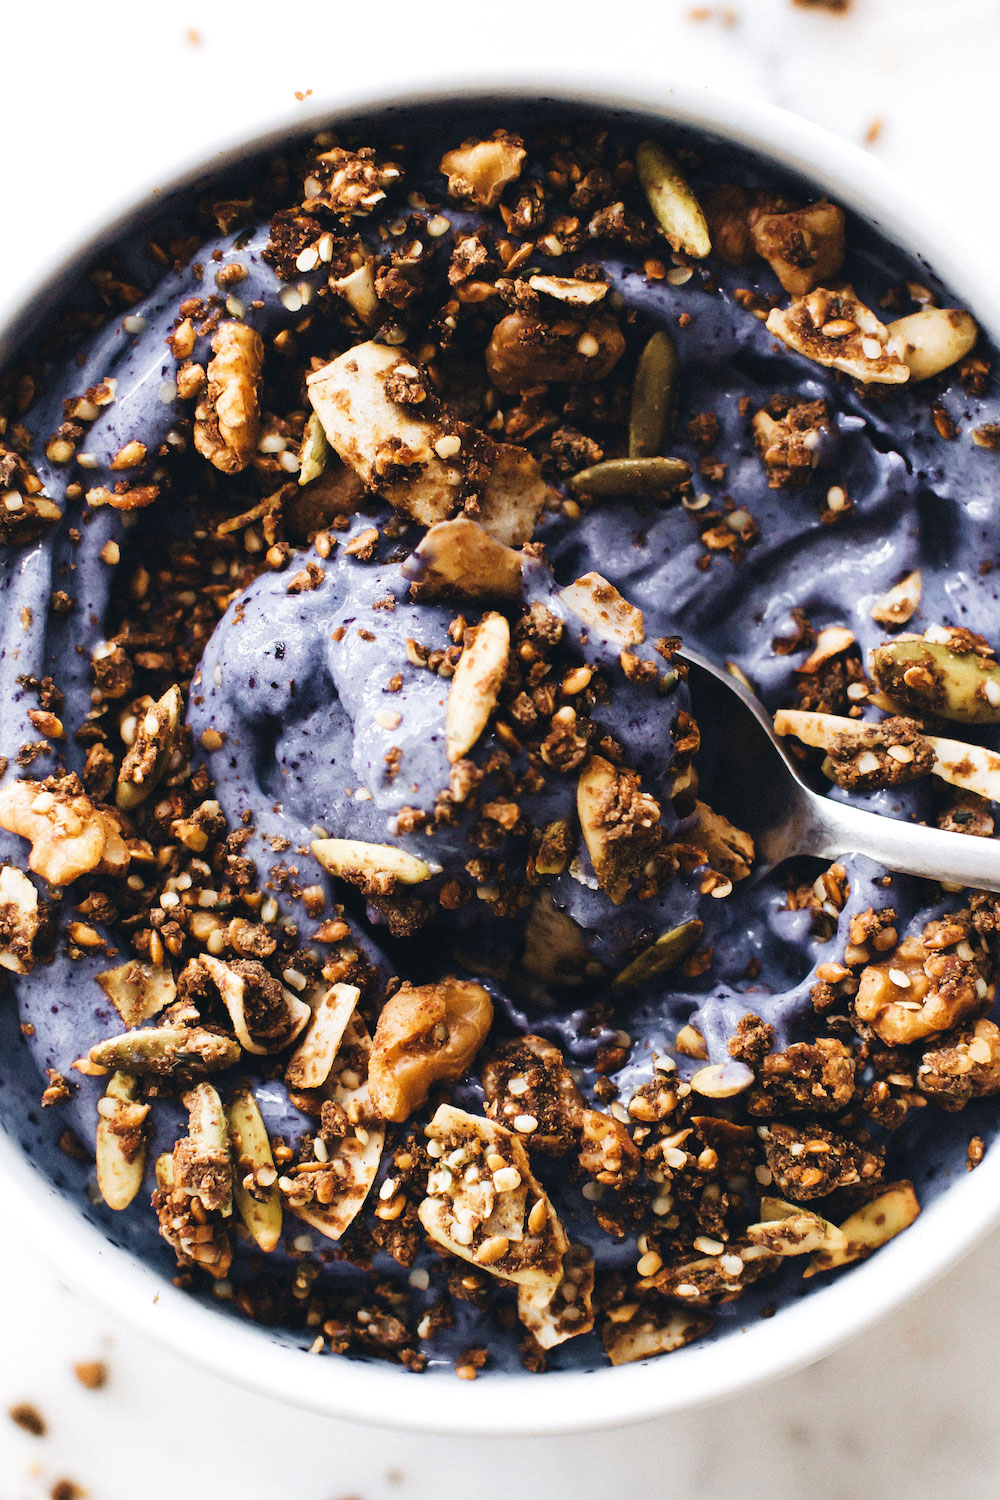
I’ve been kinda very obsessed with this grain-free granola lately, so I tested a non-chocolate batch with the almond pulp mixed in. Mmmmmm yes! You don’t even know the pulp is in there. In fact if anything it makes it more prone to hunky clusters, which I love. It will need to bake a little longer to get it crispy due to the extra moisture in the nut pulp, but very worth the wait.
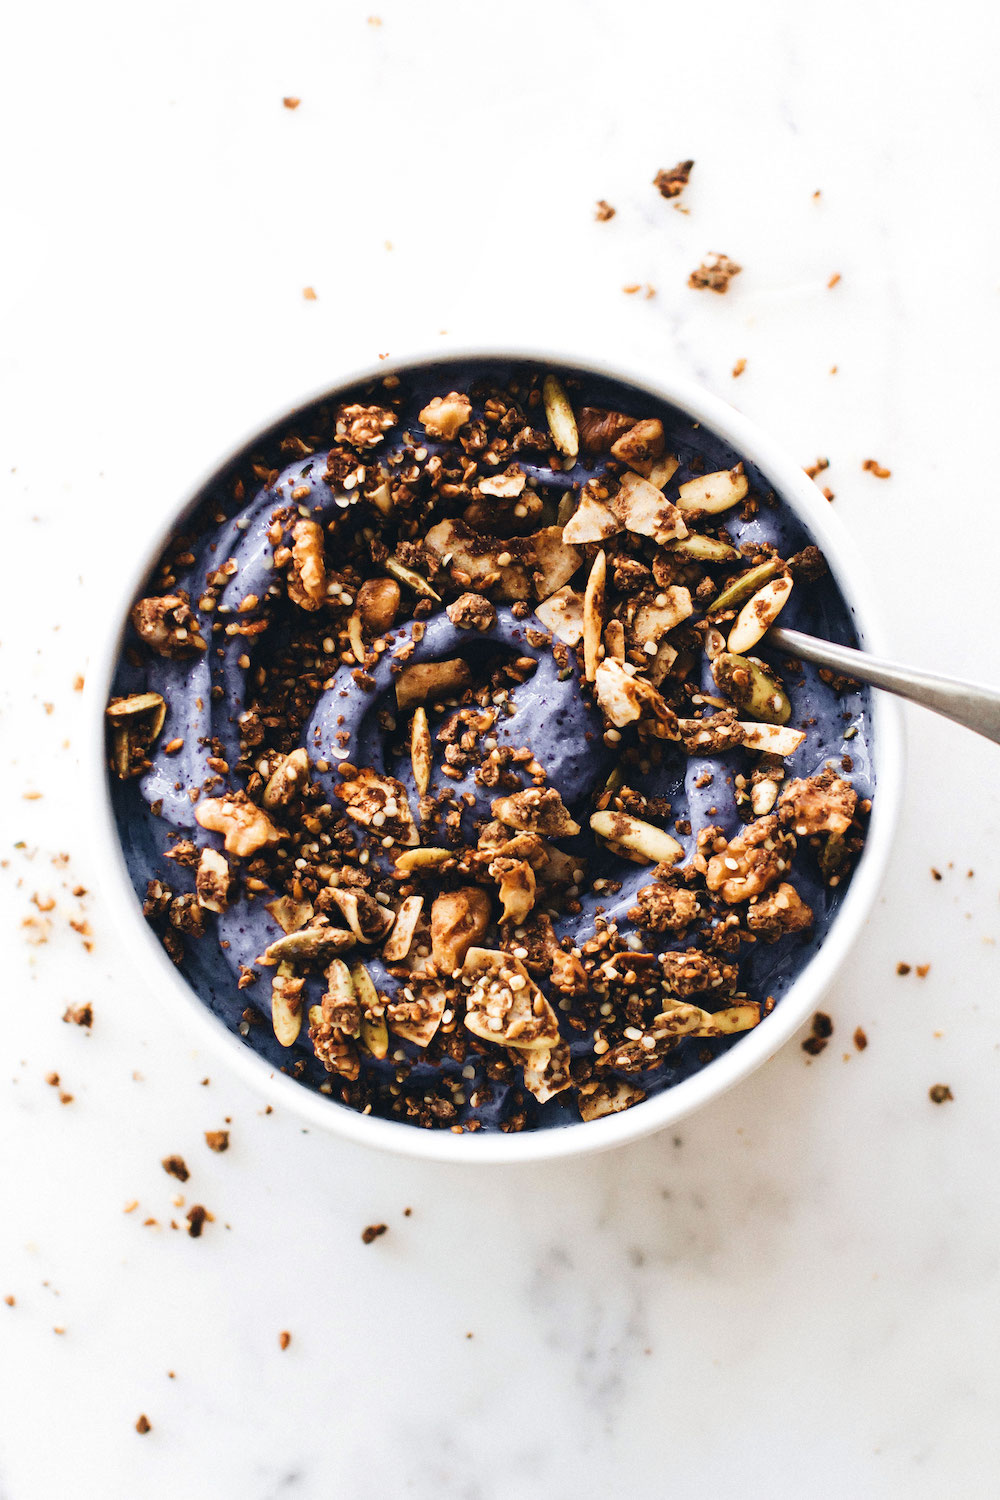

I know that was a lot, but I want you to feel fully ready to make your homemade almond milk dreams come true in your very own Vitamix in your very own kitchen.
And your stuff-your-face-with-the-bestest-granola dreams too.
So whaddya say?

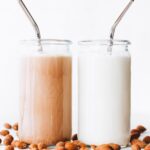

Homemade Almond Milk + Almond Pulp Granola
- Yield: 4 cups 1x
- Category: beverages
- Method: blended
- Cuisine: american
Description
Easy and versatile Homemade Almond Milk in the Vitamix – step-by-step instructions and video tutorial. Plus a delicious snack idea to not waste the pulp!
Ingredients
Homemade Almond Milk
- 1 cup (150g) raw almonds
- 4 cups water
Chocolate Almond Milk
- 1 cup (150g) raw almonds
- 4 cups water
- 1–2 tbsp maple syrup
- 1/4 cup (20g) cacao powder
- 1/4 tsp salt
Grain-Free Almond Pulp Granola
- Pulp from one batch of almond milk (about 1 cup or 110g)
- 1/2 cup (60g) chopped nuts (I used walnuts)
- 1/2 cup (60g) pumpkin seeds
- 1/4 cup (30g) hemp seeds
- 1/4 cup (35g) flax seeds
- 1 cup (45g) coconut flakes
- 1/4 cup (80g) liquid sweetener (I really like molasses! but honey, maple syrup, or agave work too)
- 2 tbsp coconut oil (or runny nut/seed butter)
- 1 tsp cinnamon
- 1 tsp vanilla extract
- 1/2 tsp salt
Instructions
Homemade Almond Milk
- Soak the almonds for 4 hours or ideally overnight. Or if you are in a hurry, soak in hot water for 1-2 hours.
- Drain and rinse.
- Add almonds to the Vitamix with 4 cups water.
- Blend on high speed for 1-2 minutes until creamy and frothy.
- Strain through a cheese cloth or nut milk bag.
- Pour into a glass jar and refrigerate.
- It will keep in the fridge for 4-5 days. Shake before using.
Chocolate Almond Milk
- Follow above steps.
- After straining, pour the milk back into the blender. Add the cacao powder, sweetener, and salt.
- Blend again.
- Pour into a glass jar and refrigerate.
- It will keep in the fridge for 4-5 days. Shake before using.
Almond Pulp Granola
- Preheat the oven to 350F.
- Combine all the ingredients in a mixing bowl. Toss to evenly coat.
- Spread on a baking sheet lined with parchment paper.
- Bake for 10 minutes at 350F. Stir. Then bake for another 10-15 minutes.
- Remove from the oven and cool completely. It will become crispy as it cools.
- Enjoy with almond milk, on top of smoothie bowls, by the handful, etc.
- Store in an airtight container in the fridge.
Keywords: vegan, dairy free, paleo, diy, snack, breakfast
CLICK BELOW TO PIN
Thank you Vitamix for sponsoring this post!




Homemade almond milk is delicious. I usually add a speck of salt and vanilla, salt helps keep it fresh longer. Lately now that I make chia pudding every day for me and hubby for bkfst, I am using a lot of the milk. So I also buy :-(.
I found that using almond butter in my coffee creates a frothier drink, and tastes richer. Try it. The kind we have here (Jerusalem Israel) is the color of almonds (local) and a bit more runny than American almond butter, which is usually roasted and hence brownish. Ours is pure almondy almond butter. But very hard to use in cookie recipes, does not work well. To solve that, I roast the almonds and then spin it in a small food processor to make the American style butter, but drier than the American kind. I do the same for peanut butter because commercial no sugar brand is too runny. And this I keep in the fridge which makes it a bit harder.
Why I say all this is because it affects all those delicious recipes. So I have to improvise:-)
I am so entertained by your recipes, keep up the great inventing!
Yep, a little salt and maple syrup is always a yummy addition too😊 And omg almond butter coffee sounds DELICIOUS! I will definitely try it. You almond butter sounds delicious, I prefer my almond butter raw and with as little added as possible😋 Thanks for sharing, and enjoy!
Hi Natalie,
I just read a report that said soaking almonds makes them lose nutrients as well as the phytic acid. Why not pour boiling water over and take the skins off, then soak and use the soak water as part of.
Also, in the interest of the oils in the nuts not denaturing, I wonder if the granola could bake at 325? Worth the try but likely won’t be quite as crunchy.
Thanks and hugs
Rebecca
Hmm not sure about that, but you could certainly try using boiling water instead. And baking at 325 should work, but definitely will need to go longer to get crispy/crunchy! Good luck😊
Hi Rebecca!
Phytic acid is something that you actually WANT to get rid of in the case of nuts, seeds, and grains. It is a nutrient inhibitor, making it very difficult for the body to “unlock” all of the minerals in the kernel. Soaking the nut/seed/grain makes the phytic acid release (it thinks it’s sprouting) & all the better for your body!! Check out Weston A Price Foundation for more information! I used to not be able to tolerate raw nuts until I started soaking all of my nuts in water and then dehydrating them.
Love homemade nut milk. Love granola. Love my Vitamix. Love those straws. What else can I say? Ohhh, and I actally have wayyy too many almonds right now and a girl can only make/use so much almond butter, so I guess milk and granola are happening?
SO MUCH TO LOVE❤️❤️❤️❤️ And I agree with you on all of the above! I mean I can consume a fair bit of almond butter in a day, but it would be nice of you to share some of that almond overload love with milk and granola too😄 Happy friday, Ashley!
I go through so much almond milk…but I’ve never made my own! But now that I have a Vitamiz I need to 🙂
ME TOO. My rate of almond milk consumption is a little out of control, but there’s chia pudding and ice cream and cereal and smoothies and just so many yummy uses🤗 Ah I hope you are loving your Vitamix, and give homemade nut milk a try!
These recipes sure look yummy! What is your best source for almonds?
I usually get mine from trader joe’s, but the raw ones I linked to in the recipe are great too!
What if I don’t own a Vitamix machine…what is the conventional way of producing the almond milk & granola.
I do have a food processor
★★★★★
You really need a blender of some kind to make the nut milk. You can make it in a less powerful one, but it won’t be as rich and creamy. I can’t think of a way to do it without a blender unfortunately. But you can make granola without, try this recipe: https://www.feastingonfruit.com/grain-free-chocolate-granola/
I am just looking at this as a great way to make my own almond milk and wanting to look into one of the comments about nutrient loss due to soaking? To answer Nicki: Nicki, I use to own a Vitamix until my pitcher cracked and it was going to cost me $150.00 to replace it, since my Vitamix was out of warranty, which was 7 years! Anyway, I bought a Ninja for the price it was going to cost to buy the pitcher and I have been very pleased with its performance. There is only 500 horse power difference between the two and while you may have to blend a little bit longer, there is very little difference in my opinion if you are trying to keep within a budget on kitchen gadgets. I usually only use my blender for smoothies, so this is not really worth paying that additional cost for the Vitamix or I would have bought another one by now.
Thank you so much for the input Deanna! I’ve heard good things about the Ninja as well although never related to nut milk specifically, but I’m sure it could work for that if you blend a bit longer too. There are definitely lots of other options out there, all depends on what you want/need it for😊
Creamy almond milk is the best! Love this easy recipe and the fact that you made granola with the pulp! You are a clever girl 🙂
★★★★★
It is, isn’t it😋😋 Okay well maybe creamy CHOCOLATE almond milk is really the best, but both are good haha. Thanks Ela!
I love, love homemade almond milk! In fact, I like it above all other milks in terms of flavor and texture. It tastes the best on cereal and granola and is so clean and fresh tasting. I make cashew milk a lot more since no straining is required and I love what cashew milk does for recipes, but it does not taste good for straight up drinking! I’ve been making my own almond milk for years, it was one of the first things I learned when I started blogging and oh boy it is a thousand times better than storeb-ought! I make mine the same way except I only use 3 cups water and it’s so creamy. It’s been awhile since I’ve made it and your post has me salivating to make some soon. I admit I’ve gotten lazy and have been doing the almond butter plus water thing instead, but it just isn’t as good as the whole almond/strained version! I love your step by step pics here Natalie, such a great post! It’s such a useful post for people who are new to making homemade milks. It was another blogger post years ago that I first learned how myself, so I’m so glad you shared this!
Oooh I like your ratio, extra rich and creamy is always good with me😋 I’ve actually done a 1:2 ratio before to use in homemade ice cream and it was delish, almost cashew cream but not quite. But yes, both almond and cashew are SO much better homemade. I need to quit being lazy and do it regularly. It literally takes like…5 minutes😆 You know I still haven’t even tried the almond butter trick, but I will have to remember that for next time I’m out of the carton stuff and feeling like cheating ha. Thanks for reading Brandi❤️
How much salt and vanilla do you use? I would love my almond milk to last longer as I am the only one drinking it.
I use about 1 tsp vanilla and 1/4 tsp salt. Happy blending😊
What is the carb count and calories?
I don’t have it calculated for this one unfortunately, but you can plug it in here and find out: https://www.myfitnesspal.com/recipe/calculator
Hi,
Your pulp looks very dry, how did you achieve this?
Greetings,
L. Frederik
Just squeezed it out very thoroughly in a nut milk bag. You can also let it sit out for a few hours to dry out a little more 🙂