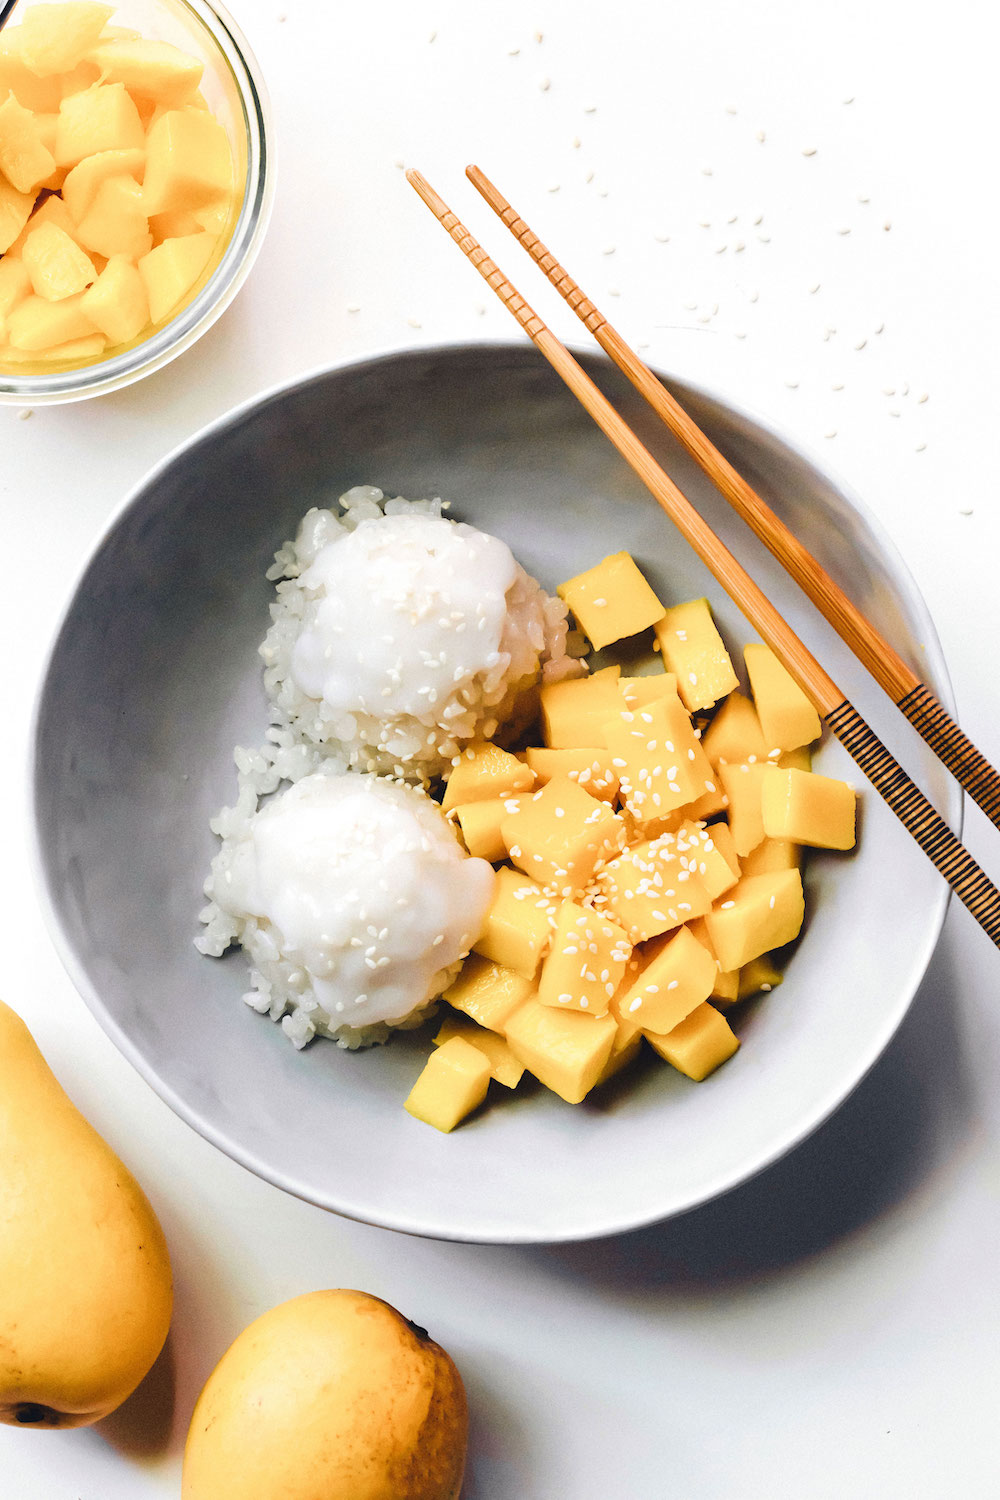
Juicy mangoes paired with sweet, salty, coconut sticky rice! A delicious Thai dish made quick and easy from The Vegan Instant Pot Cookbook by Nisha Vora.
This recipe represents a lot of firsts for me. First…
- dessert made in my instant pot
- time making this favorite Thai dish at home
- mango of the season
- recipe of many I will be making from my friend Nisha’s new cookbook!
And while I’m confessing things, I’m pretty sure I consumed at least half a cup of rice, countless coconut sauce finger licks, and an entire mango during this photoshoot. But that’s nothing new, just a sign of how GOOD this stuff is.
Summer mangoes, sticky rice, sweet coconut milk, salt – how’s a person supposed to resist all that happening on one plate? Riddle me that.
I’ve owned an Instant Pot for six months, and do you know how many Instant Pot recipes are on the blog right now? None. NOT ONE. It’s embarrassing really.
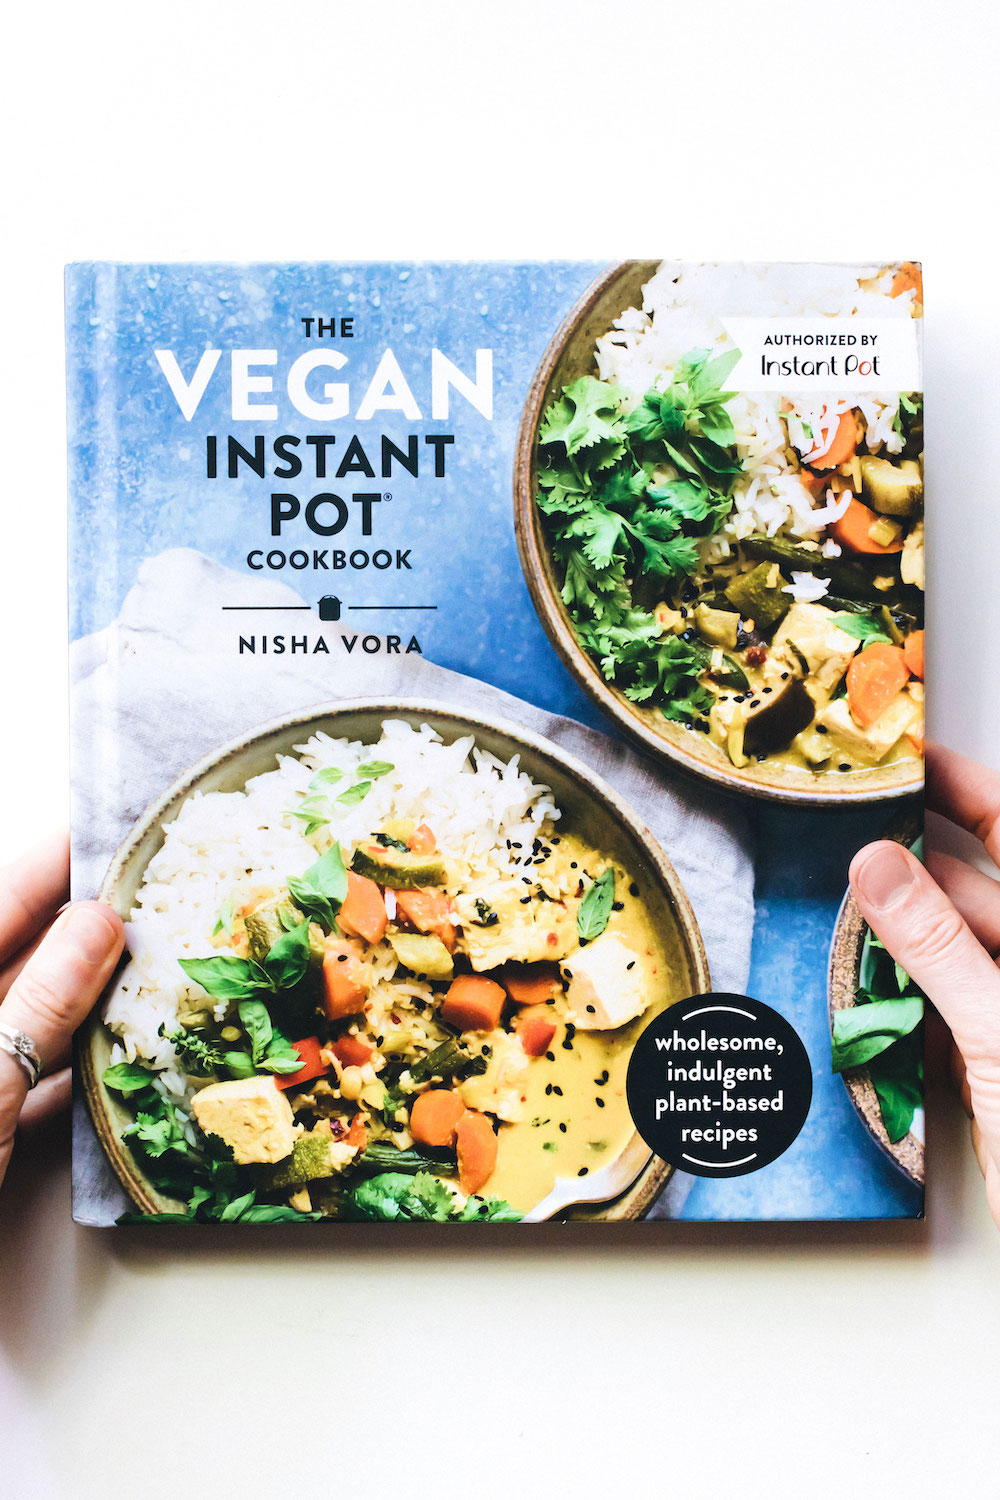
It’s not that I’ve been neglecting it. I’ve just been using it to make the same three-ish things on repeat, which is a complete insult to it’s immense versatility. So when I got my hands on The Vegan Instant Pot Cookbook that my friend Nisha wrote, my first thought was THIS IS MY MOMENT.
My moment to finally make the most of my Instant Pot. But her moment to be incredibly proud and happy and celebrate bringing this beautiful book into the world! I’ve known this amazing lady for years via Instagram – her creativity with food never stops amazing me, and her photography is the stuff my food styling DREAMS are made of.
Her book is just as creative and stunning, a perfect blend of easy + healthy + comfort + colorful food. From breakfast to dessert, savory and sweet, sauces and soups and sides and main dishes, all the Instant Pot tips you need if you are new to the game, she covered it all.
I can’t even count how many things I’ve bookmarked already. A few on my list to try very soon include: Homemade Coconut Yogurt, Coconut Millet Porridge, Citrus Kale and Carrots, Pho Vietnamese Noodle Soup, and the entire dessert section (especially that Cookies ‘N’ Cream Cheesecake!)

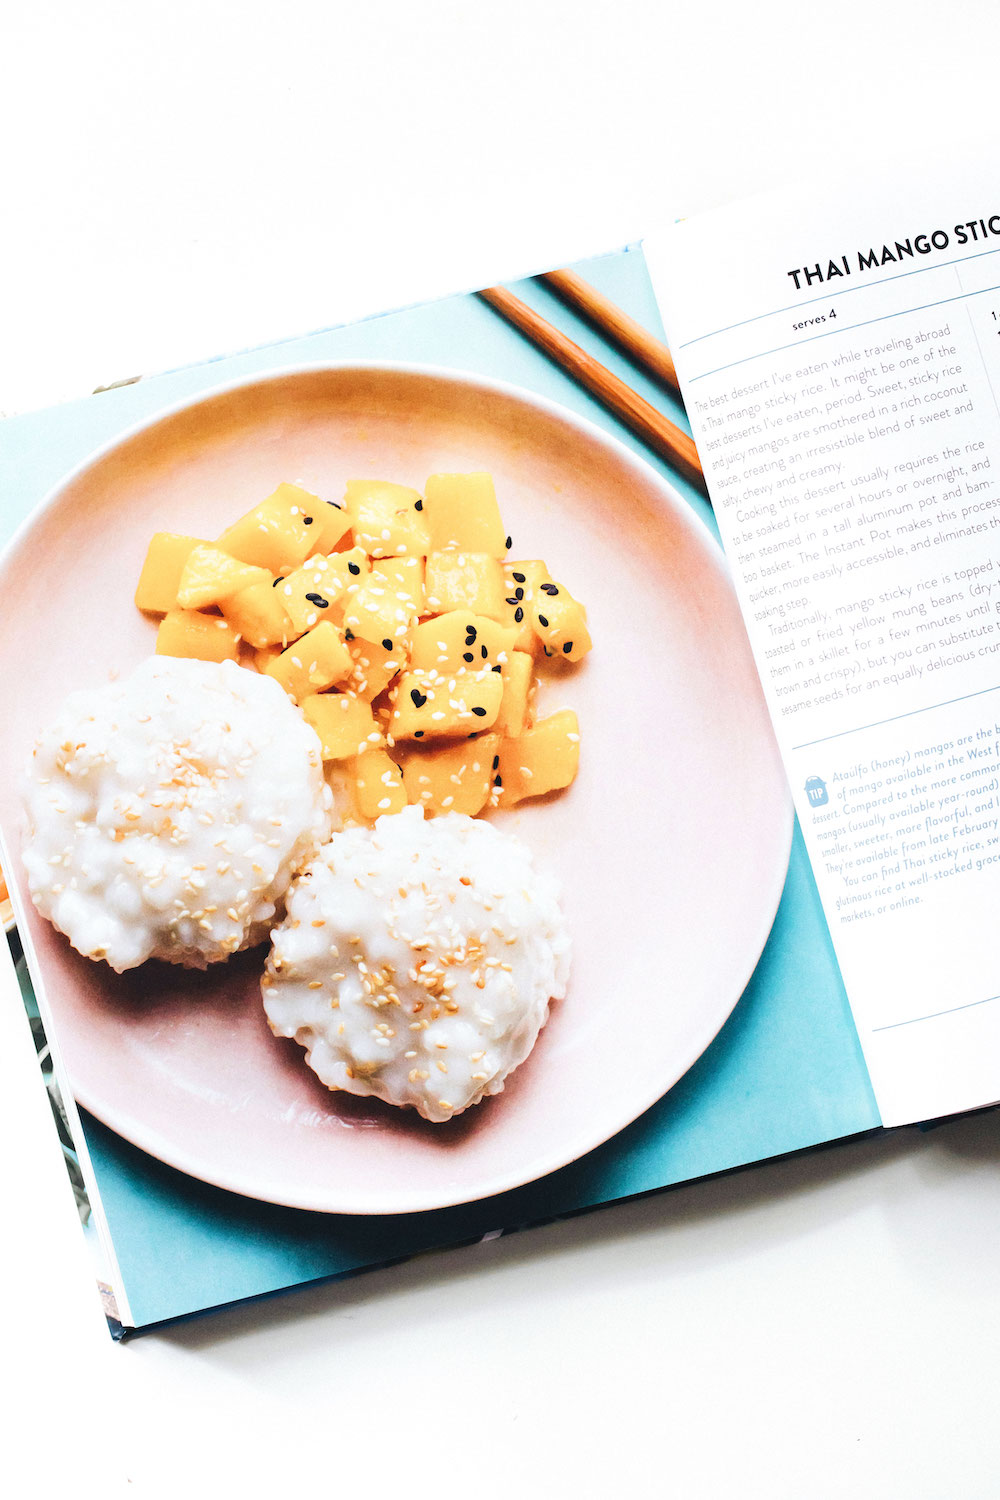
But when I saw Thai Mango Sticky Rice I knew I had to have it. I’ve tried this dish out before, and there is nothing quite like it. It’s a uniquely perfect combination of Ataulfo mangoes, sticky white rice, and a sweet-salty coconut sauce topped with a sprinkle of sesame seeds.
I’ve never been to Thailand so I can’t claim to be an expert, but I will tell you this homemade version is SO much tastier than any I’ve had before. And definitely faster than other recipes out there thanks to the Instant Pot.
She was kind enough to let me share this recipe from her book with you, so enjoy this sweet little sneak peek below. And if you have an Instant Pot (or need that last little nudge to push you over the Instant Pot purchasing edge), this book has TONS of vegan recipe inspiration. Go ahead and Amazon Prime it to yourself, you won’t regret it.


Thai Mango Sticky Rice
- Prep Time: 5 minutes
- Cook Time: 25 minutes
- Total Time: 30 minutes
- Yield: 4 servings 1x
- Category: dessert
- Method: instant pot
- Cuisine: thai
Description
Juicy mangoes paired with sweet, salty, coconut sticky rice! A delicious Thai dish made quick and easy from The Vegan Instant Pot Cookbook by Nisha Vora.
Ingredients
- 1 cup Thai sticky rice (or sweet/glutinous rice)
- 1 1/3 cups canned full-fat coconut milk, well stirred
- 7 tbsp organic cane sugar
- 1/2 tsp fine sea salt
- 1 tbsp cornstarch
- 2 ripe Ataúlfo mangoes (peeled, pitted, and thinly sliced or diced)
- 2 tbsp yellow mung beans toasted (or 2 tsps toasted white or black sesame seeds)
Instructions
- For easy removal of the pan from the Instant Pot, create a foil sling. (Alternatively, you can use oven mitts to carefully remove the pan.)
- Place the sticky rice in a large bowl and add water to cover. Gently stir the rice with your hands, then drain the water, and repeat 4 or 5 times until the water runs almost clear. This removes the excess starch and prevents the rice from becoming gummy. Place the rinsed rice in a heatproof glass or stainless steel bowl that fits inside the inner pot of your Instant Pot. Add 2/3 cup cold water to the bowl to cover the rice.
- On the counter, place the bowl on top of the steamer rack with the handles facing up and arrange the foil sling (if using) underneath the steamer rack. Pour 1 1/2 cups water into the inner pot of the Instant Pot. Carefully lower the steamer rack and bowl into the inner pot using the foil sling or steamer rack handles.
- Secure the lid and set the Pressure Release to Sealing. Select the Pressure Cook setting at high pressure and set the cook time to 13 minutes.
- Once the 13-minute timer has completed and beeps, allow a natural pressure release for 10 minutes and then switch the Pressure Release knob from Sealing to Venting to release any remaining steam.
- While the pot is depressurizing, in a small saucepan, bring 2/3 cup of the coconut milk to a simmer over medium heat. Add 5 tbsp of the cane sugar and 1/4 tsp of the salt and whisk until the sugar is dissolved and the milk tastes salty-sweet. Keep the sauce warm.
- Open the Instant Pot and, with oven mitts, transfer the cooked sticky rice to a large bowl and pour the warm coconut milk mixture on top. Stir well to combine and gently fluff with a fork. Cover and let it sit until the liquid is absorbed, about 20 minutes. You can let the rice rest at room temperature for up to 2 hours.
- Meanwhile, set aside 2 tbsp of the remaining coconut milk in a small bowl. Wipe out the saucepan and add the remaining coconut milk. Add the cornstarch to the small bowl and whisk until smooth, forming a slurry. Bring the coconut milk in the saucepan to a simmer over medium heat, whisking frequently. Whisk the slurry into the coconut milk on the stove and simmer until the mixture has thickened, about 2 minutes. Whisk in the remaining 2 tbsp cane sugar and the remaining 1/4 tsp salt until the sugar is dissolved. The coconut cream should be slightly saltier and less sweet than the coconut milk mixture used to cover the rice.
- When ready to serve, use a 1-cup measuring cup to scoop the coconut rice into mounds on individual plates and arrange the sliced or diced mango alongside. Drizzle the warm coconut cream over the rice and garnish with the toasted yellow mung beans or sesame seeds. Serve immediately. Do not warm up or refrigerate, as the rice will turn rock hard.
Keywords: vegan, gluten-free, dessert, coconut, thai, pressure cooker, easy, vegetarian
CLICK BELOW TO PIN


THANK YOU THANK YOU! You are just the sweetest, Natalie! I am so happy you made this recipe and loved it so much. So honored I could be part of many of your firsts 🙂 Mango sticky rice was one of my favorite things about traveling in Thailand lol…well, all of the food was, to be honest.
Thank you so much for sharing and for your support on my cookbook! I’m really excited for you to try out some other goodies in the Instant Pot because that machine can do some magic 🙂 Also think you’d love the peach crisp from the book, just saying.
And it’s pretty obvious, but these photos came out super beautiful! I could stare at them forever. Your little mounds of rice are so cute and perfect.
Now I’m just waiting for you to come out with a cookbook 😉
I want to go to Thailand for so many reasons, it’s very high on my travel list, but at least now I can mango sticky rice at home just as deliciously🤗🤗 I ALMOST went with the raspberry peach crisp instead of this recipe, so yes that one will definitely be happening soon while those fruits are still summery and abundant. Wish I could give you a big in person hug and CONGRATS! But so happy I could celebrate in this small way with you❤️❤️
What do you think about replacing the sugar with liquid sweetener? Would it go more runny or would the taste be too off?
It’s not my recipe so I can’t say for sure, but I think that would be fine actually! Something more neutral like agave might taste better than maple syrup though, idk what you had in mind😊
Oh my goodness, this was delicious! I came to your blog from Pinterest. After trying the chocolate chia pudding and loving it, I thought I should try this recipe. I seriously couldn’t contain myself. It messed up my appetite for dinner because I ate too much as an afternoon snack.
I don’t have an Instant Pot so I just soaked my rice for a few minutes and then cooked it in the rice cooker. I followed the other instructions and was treated to the most delicious snack!
Thumbs up to Nisha!
★★★★★
YAY! I am so happy you tried this one, and the chocolate chia pudding too😋😋 Yes totally works in a rice cooker too. Her recipes are wonderful, I am loving this book!
This is one of my favourite desserts! I ate it all the time in Thailand 🙂 Love that it can be made in an Instant pot. Nisha’s book is amazing!
I NEED to go to Thailand!! For so many reasons, but luckily now mango sticky rice isn’t one of them since Nisha has brought it to us🤗 Love her book too!
That’s great recipe. We will definitely try this recipe. I am fan of Indian mangoes so I will use them. thanks for this great recipe.
★★★★★
Those are super delicious mangoes, it will be perfect😋