

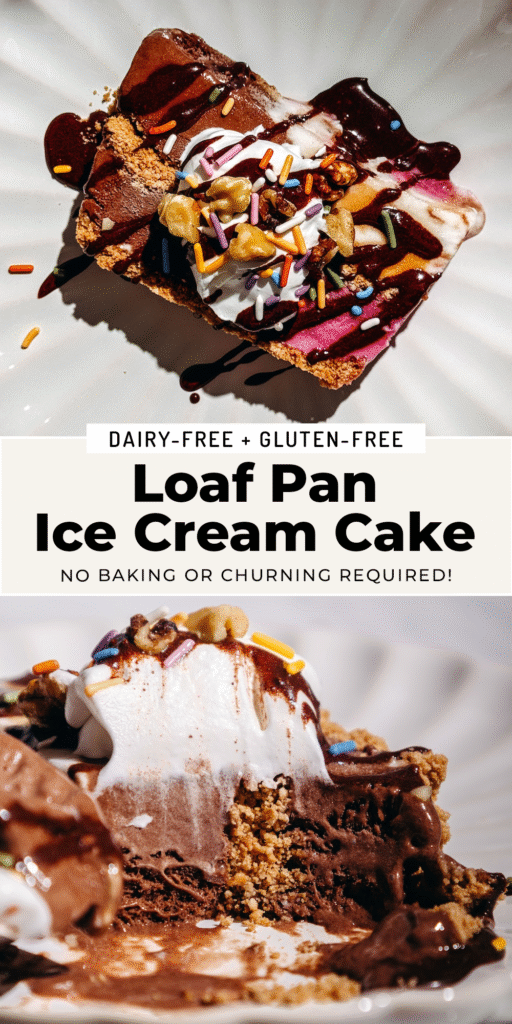
This loaf pan ice cream cake has a crunchy sugar cone crust, layers of dairy-free ice cream in whatever flavors you love, and all the toppings your heart desires. No baking, no churning, no fancy equipment — just press, layer, freeze, and slice. The easiest summer dessert that looks seriously impressive.
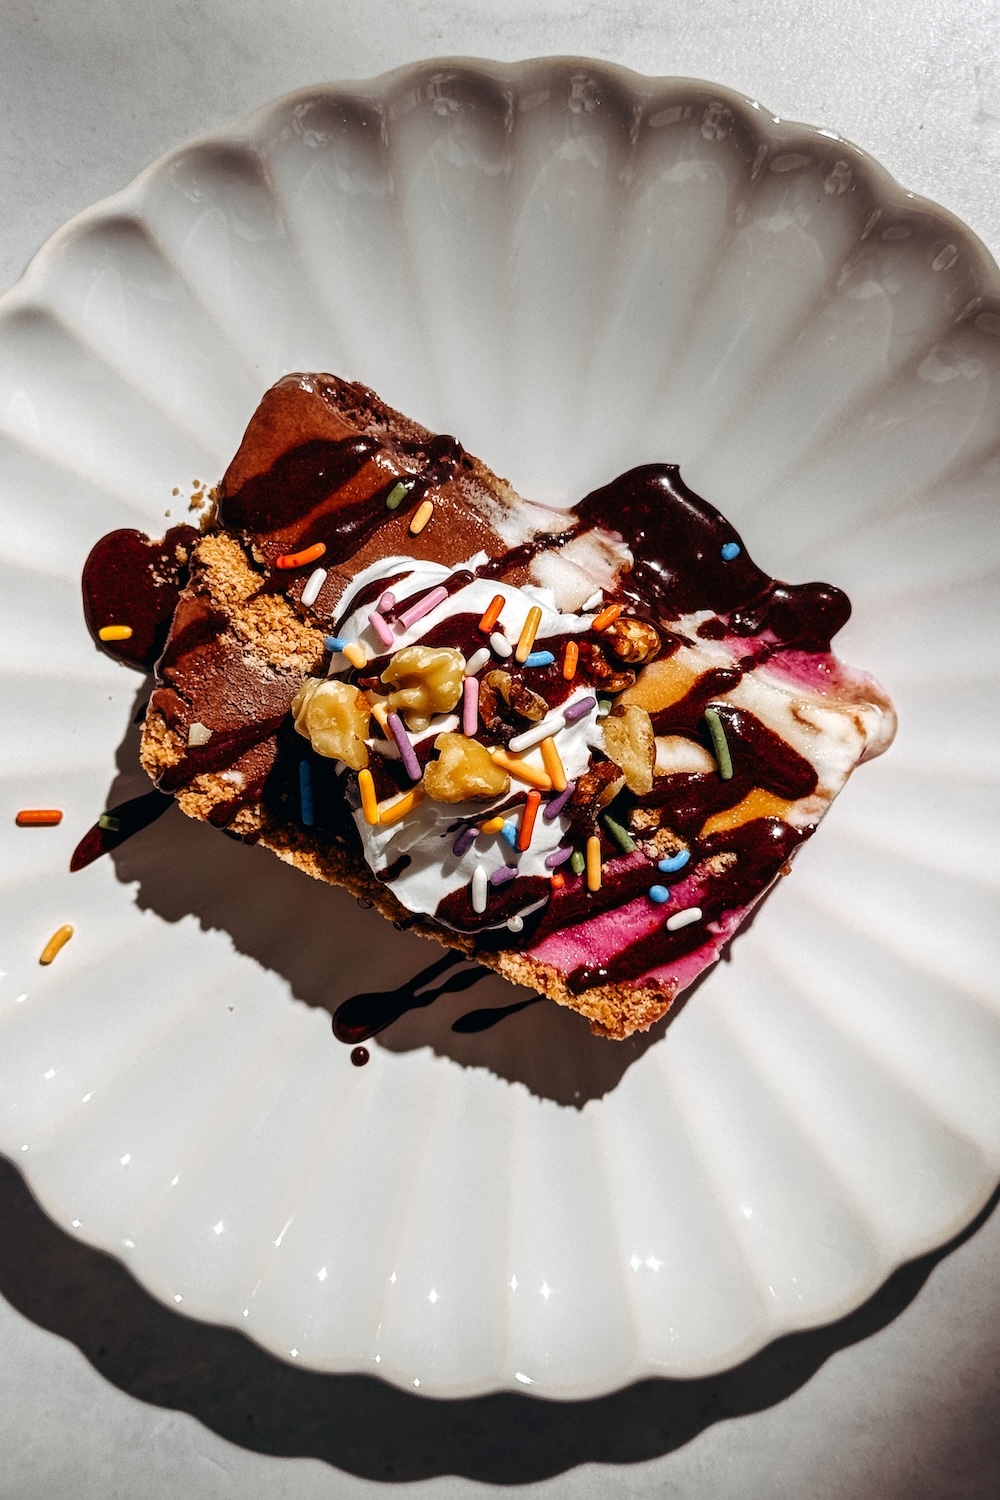
Table of contents
Ice cream cake feels impressive, but this version is actually one of the easiest desserts you’ll ever make. No baking, no churning, no fancy equipment — just a loaf pan, a few pints of your favorite ice cream (dairy-free to make it vegan friendly!), and a crunchy sugar cone crust that is my favorite crunchy crumbly part.
The loaf pan format is kind of genius for ice cream cake. It gives you those beautiful layered slices without any of the fuss of a springform pan or a complicated assembly process. Just press, layer, freeze, and slice.
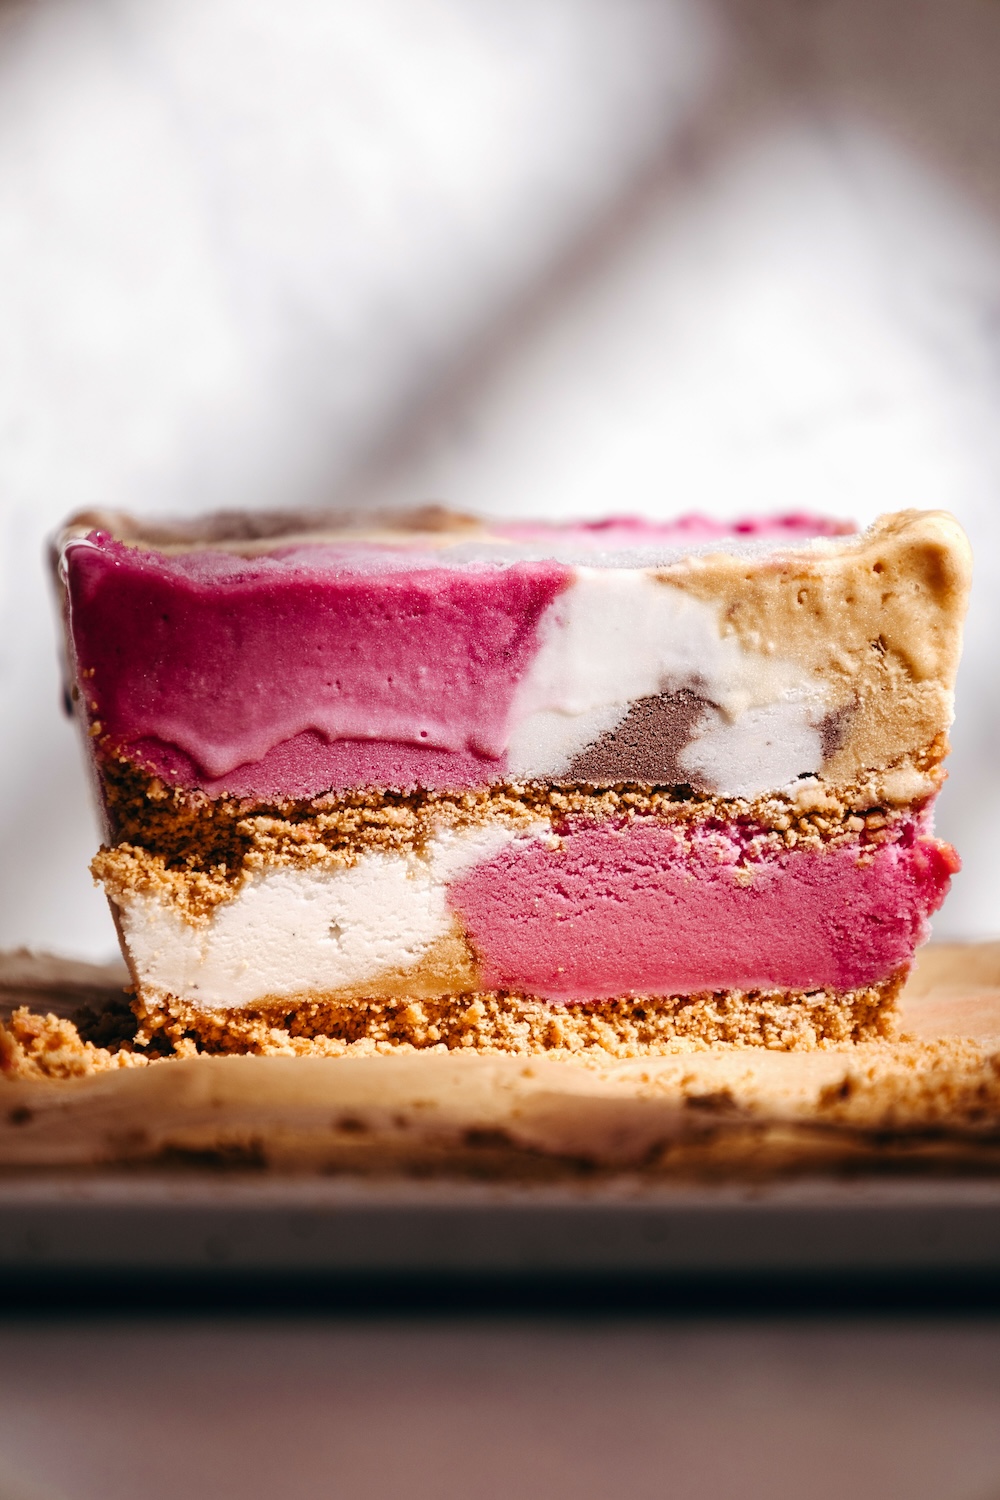
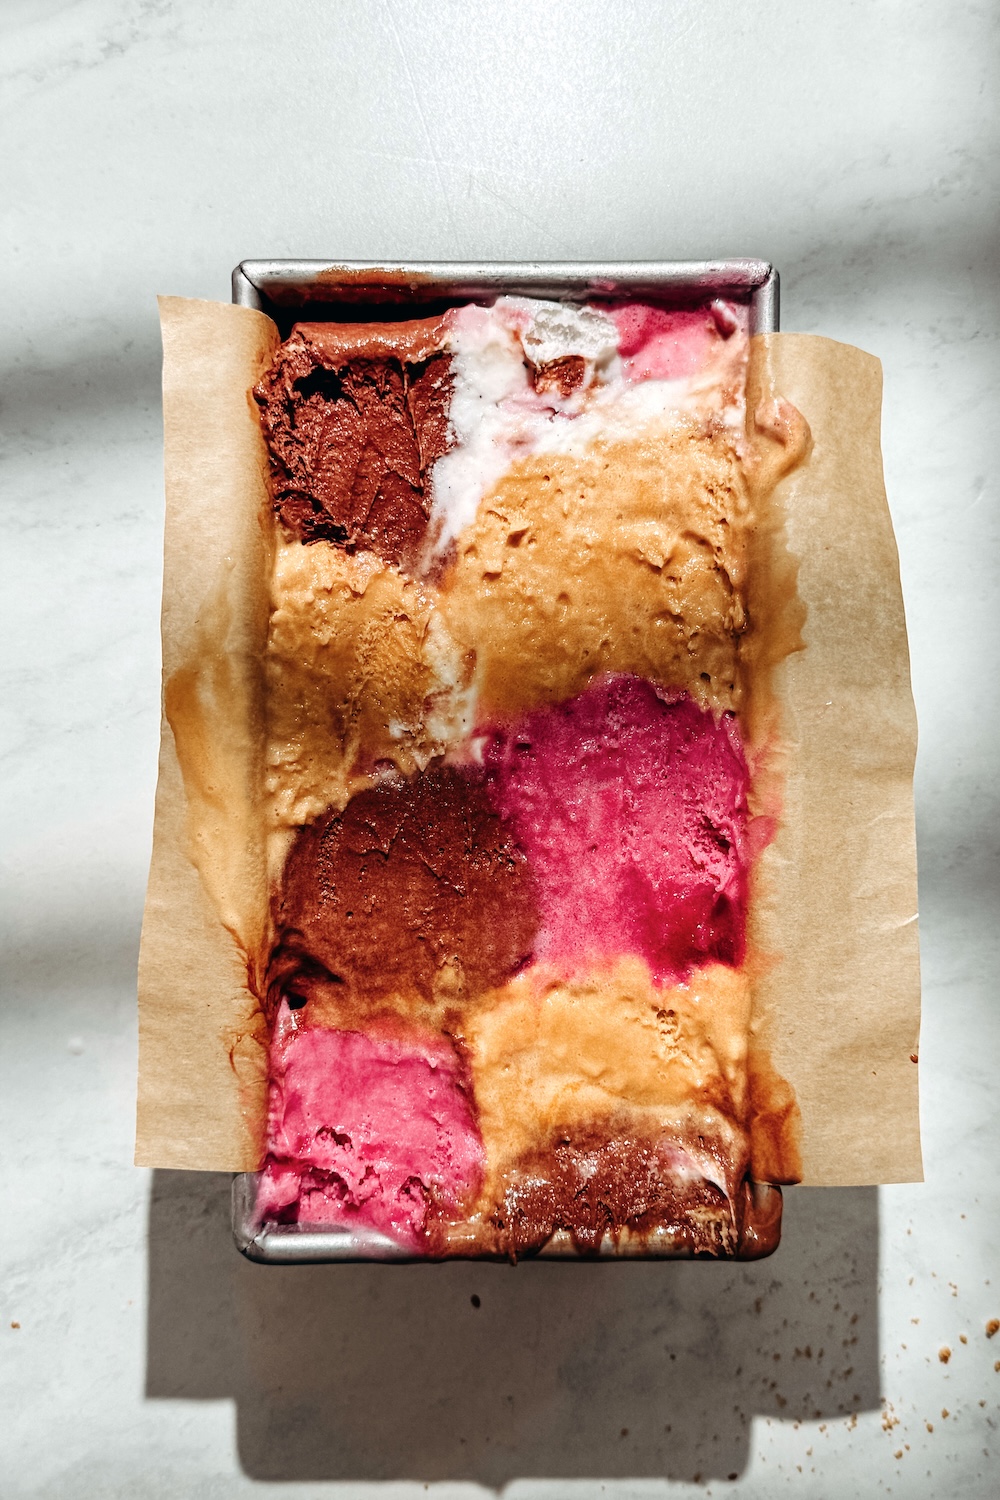
You can mix and match whatever ice cream flavors you love. I went with chocolate, vanilla, blueberry, and salted caramel for a fun rainbow of flavors in every slice. Pile on the toppings, bring it to your next summer gathering, and watch it disappear!
Why You’ll Love This Recipe
No baking, no churning, no stress. This loaf pan ice cream cake is one of those recipes that looks way more impressive than the effort it requires. Here’s why it’s going to become your go-to summer dessert:
- It’s completely dairy-free and gluten-free. Made with your favorite dairy-free ice cream and a gluten-free sugar cone crust, everyone at the table can dig in.
- The loaf pan does the work for you. No springform pan, no complicated assembly. Just layer everything in, freeze, and slice into beautiful layered pieces.
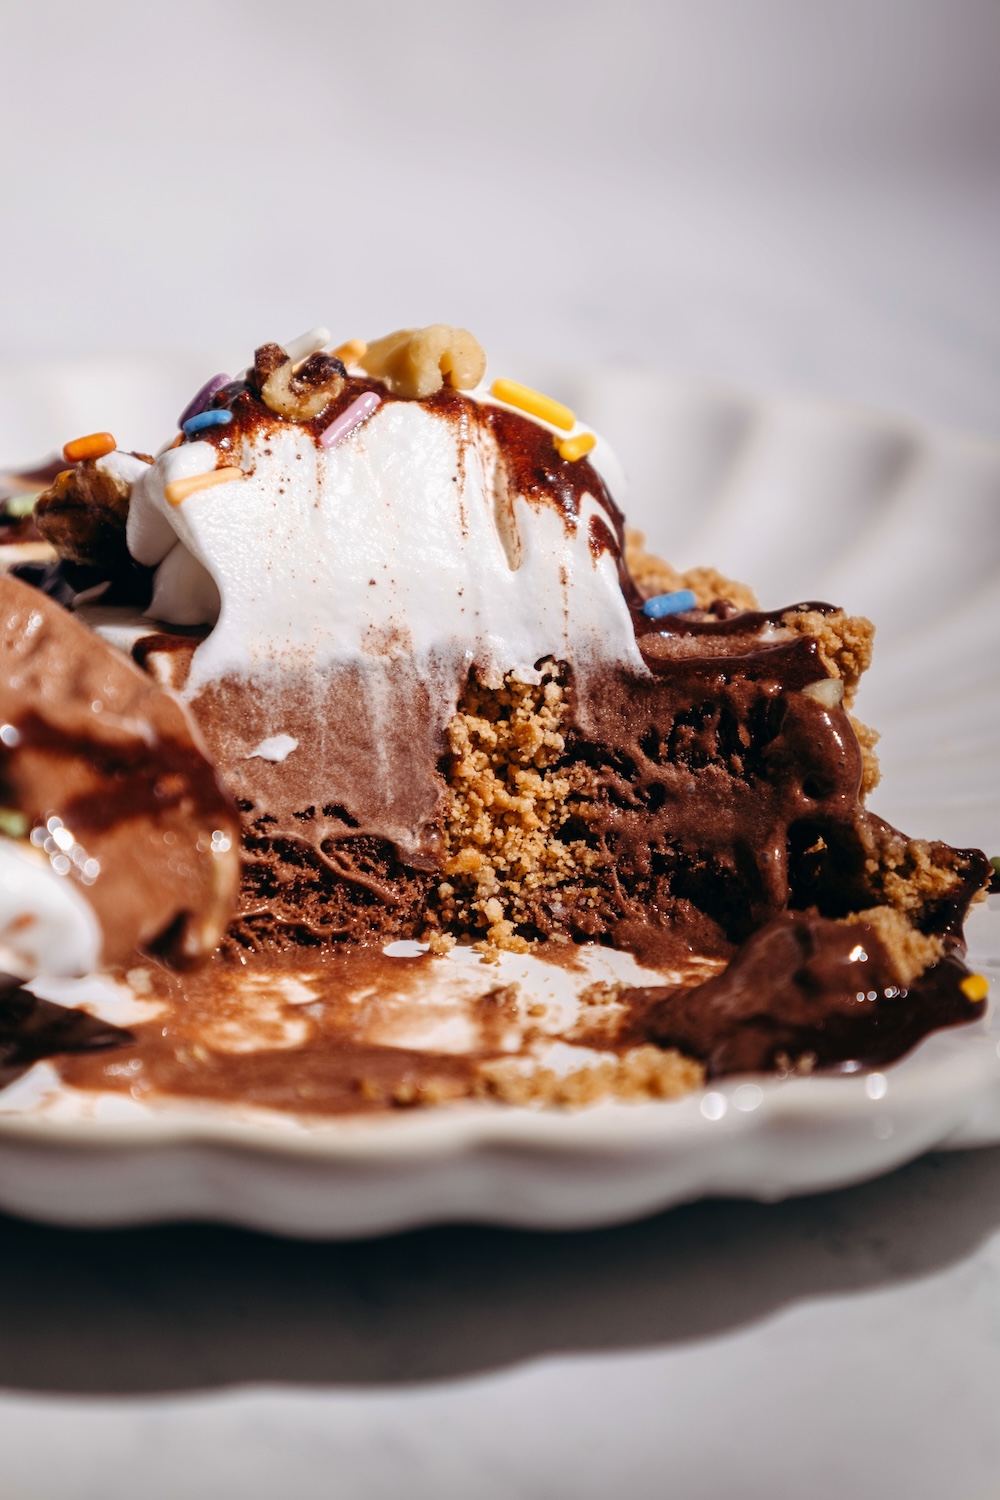
- The sugar cone crust is a game changer. Buttery, crunchy, and slightly sweet! It’s the best part of an ice cream cone built right into the cake. Think: graham cracker crust vibes, but summer edition.
- Totally customizable. Use any ice cream flavors you love and pile on whatever toppings you’re feeling. No two cakes alike.
- Make-ahead friendly. This cake needs at least 4 hours in the freezer, which means you can make it the night before and it’s ready when you need it.
Ingredients You’ll Need
Here’s everything you need to make this loaf pan ice cream cake — plus a few notes on substitutions:
- Coconut oil. Melted and blended into the sugar cone crust to hold everything together. I do not recommend any other kinds of oil, but you could use melted dairy-free butter too.
- Sugar cones. I used Let’s Do Gluten-Free® Sugar Cones by Edward & Sons, which are gluten-free and vegan. You’ll need 12 cones, which grinds down to the perfect amount of crumb crust. I do not recommend cake cones, but waffle cones would work.
- Salt. Just a pinch in the crust to balance the sweetness of the ice cream to come.
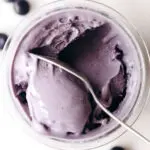
- Dairy-free ice cream. You’ll need 4 pints total. I went with chocolate, vanilla, blueberry, and salted caramel (Bettergoods brand oatmilk ice cream from Walmart to be exact) for a colorful mix of flavors, but use whatever you love. Regular dairy ice cream works too if you aren’t vegan or dairy-free.
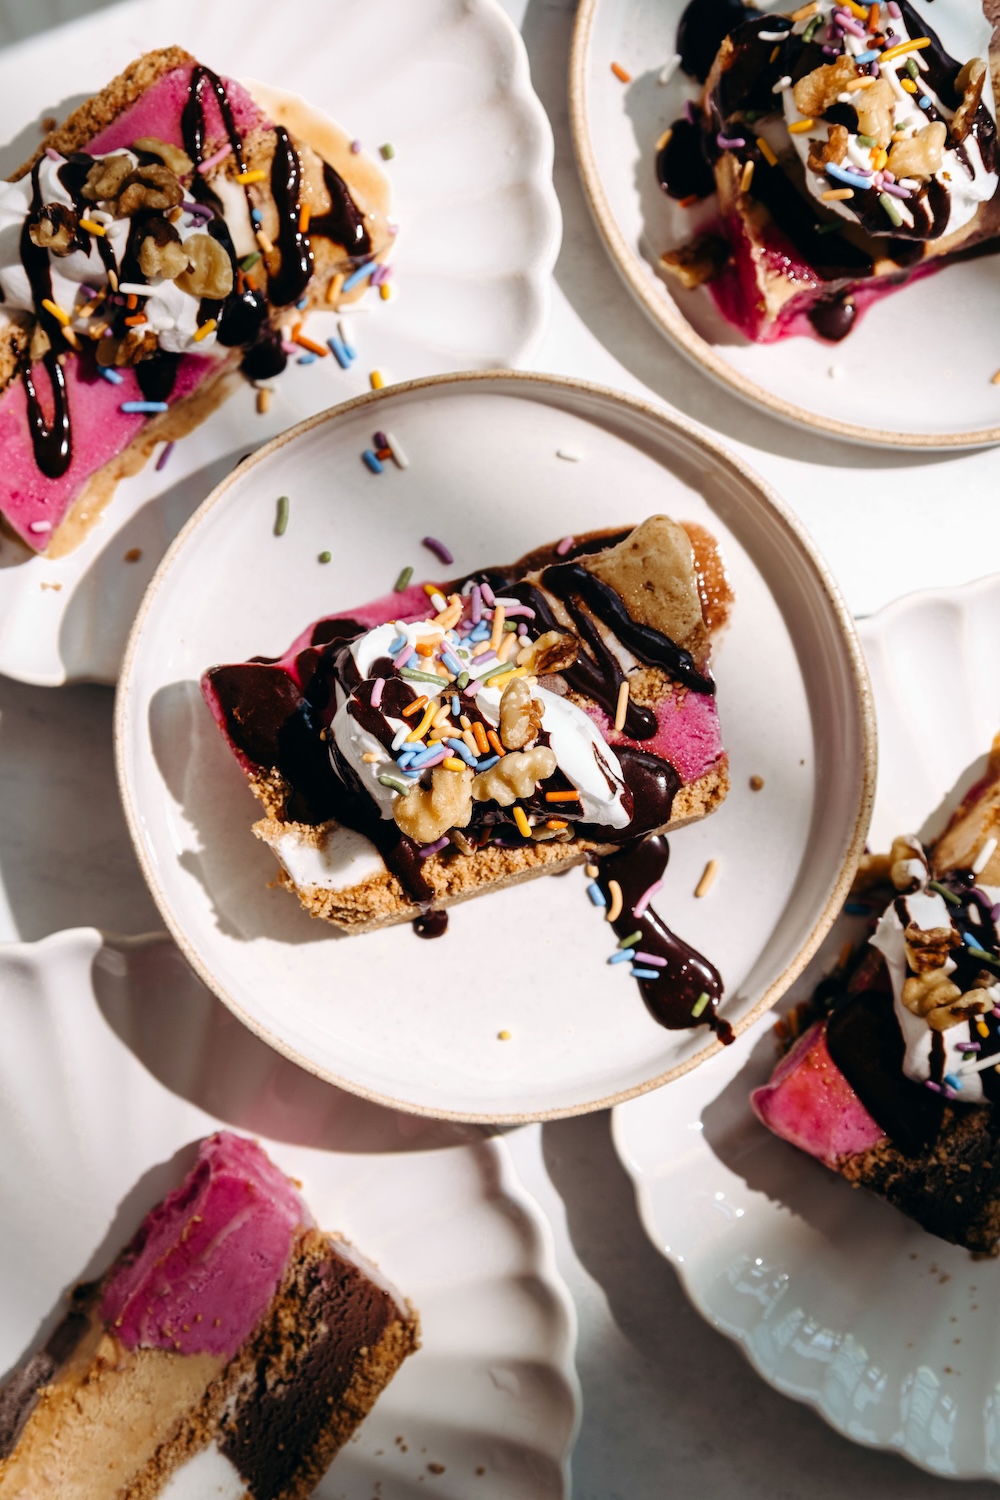
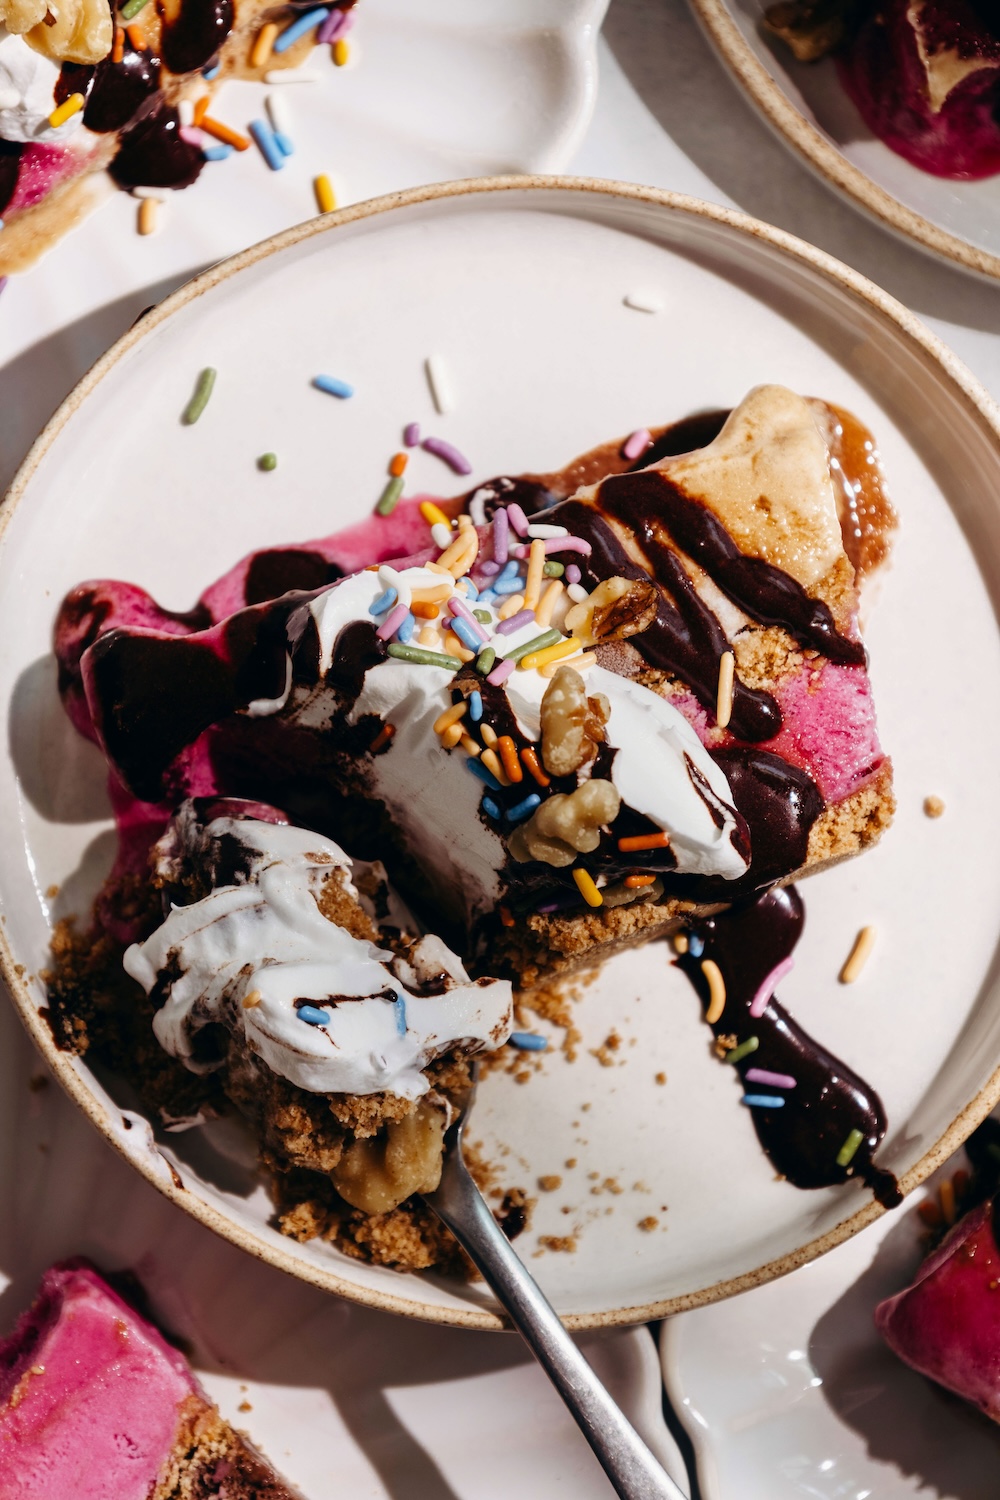
- Toppings. This is the most fun part. Sprinkles, chopped walnuts, dairy-free whipped cream, and a simple chocolate sauce made from maple syrup and cocoa powder are all great options. And the best part is you can top each slice differently!
How to Make Loaf Pan Ice Cream Cake
This recipe comes together in just a few simple steps — the freezer does most of the heavy lifting!
- Make the sugar cone crust. Add the sugar cones to a food processor and pulse into coarse crumbs. Add the melted coconut oil and salt and process again until the mixture resembles wet sand.
- Build the first layer. Line a loaf pan with a parchment paper sling, leaving enough overhang on the sides to lift the cake out later. Spread half of the cone crumbs into the bottom of the pan and press in firmly. Freeze for 30 minutes to set.
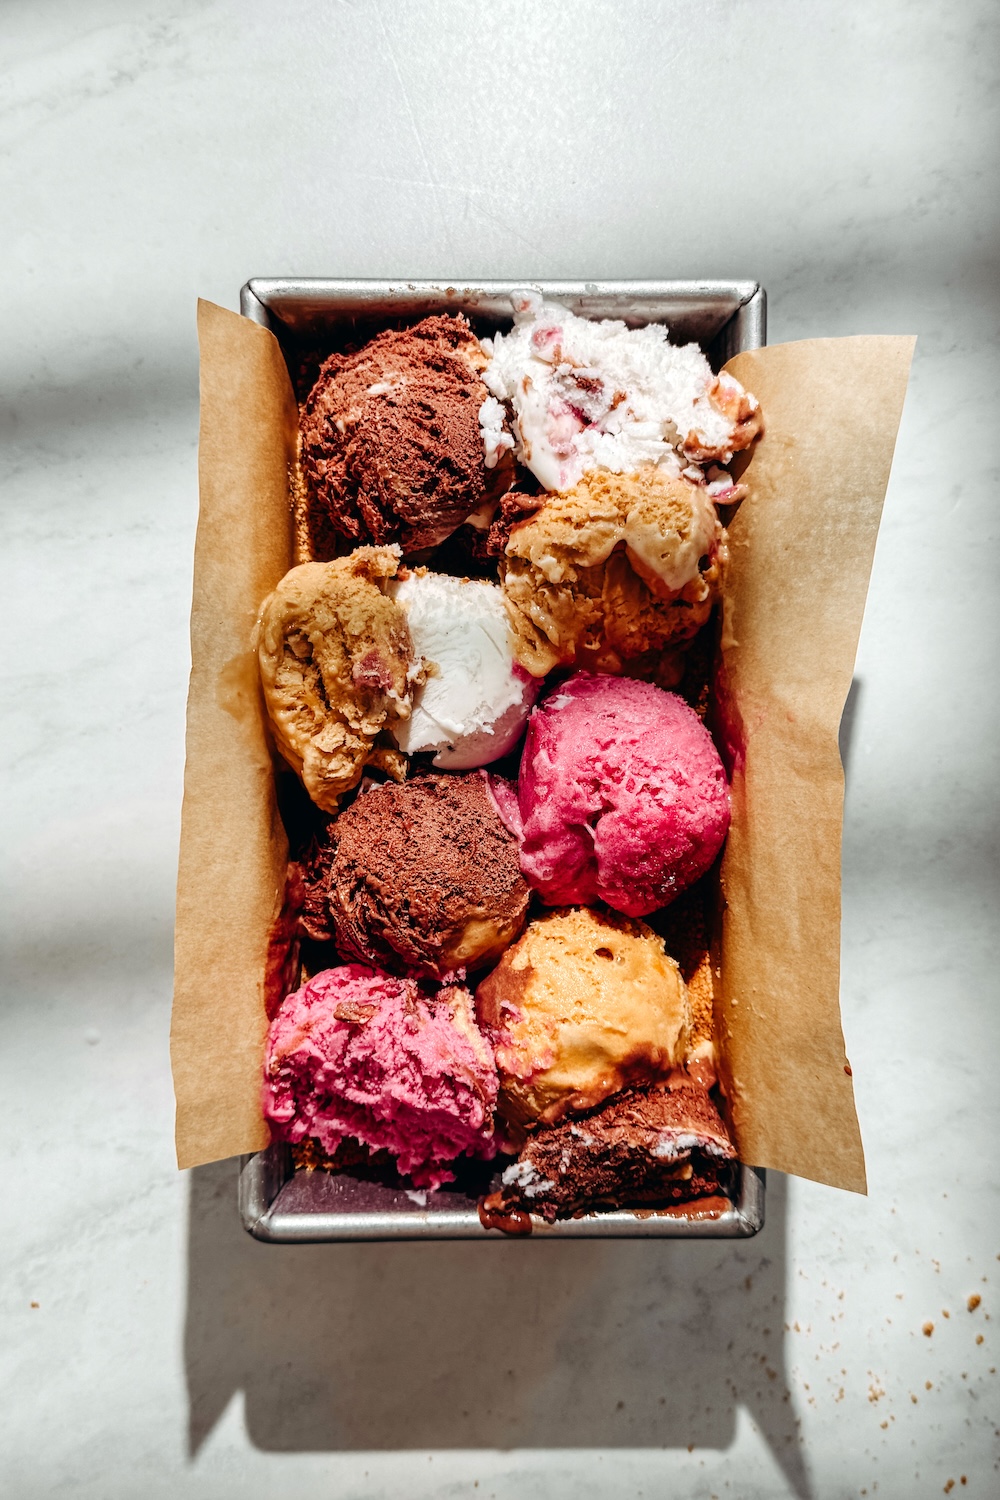
- Add the first layer of ice cream. Once the crust is set, top with a layer of ice cream scoops, pressing in gently to fill any gaps. Try to use scoops of different flavors side by side for the most colorful slices.
- Add the second crust layer. Spread the remaining cone crumbs over the ice cream in an even layer, pressing in gently.
- Add the second layer of ice cream. Top with another layer of ice cream scoops, pressing in gently.
- Freeze. Place a piece of wax paper on top and press down firmly. Freeze for at least 4 hours or overnight.
- Slice and serve. Lift the cake out of the pan using the parchment sling, slice into pieces, and top with whatever toppings you love.
Ice Cream Flavor & Topping Ideas
One of the best things about this recipe is how customizable it is. Here are some ideas to get you started:
Ice Cream Flavor Combo Ideas:
- Classic: Chocolate, vanilla, and strawberry for a Neapolitan-inspired cake
- Tropical: Coconut, mango, and pineapple sorbet for a summer vacation vibe
- Berry: Blueberry, raspberry, and vanilla for a fruity, colorful cake
- Chocolate lover: Chocolate, dark chocolate, and salted caramel for a rich, decadent version
- Rainbow: Pick four totally different flavors for the most colorful slices — this is what I did with chocolate, vanilla, blueberry, and salted caramel!
Topping Ideas:
- Dairy-free whipped cream
- Homemade chocolate sauce (just 2 tablespoons maple syrup whisked with 1 tablespoon cocoa powder!) or melted chocolate
- Sprinkles
- Chopped walnuts or pecans
- Caramel sauce
- Fresh berries
- Crushed sugar cones for extra crunch
How to Store
This loaf pan ice cream cake keeps well in the freezer for up to 2 weeks. If you’re not serving the whole cake at once, leave it in the loaf pan and cover tightly with plastic wrap or foil to prevent freezer burn. If you’ve already sliced it, wrap individual slices in plastic wrap and store in an airtight container or zip-top bag in the freezer.
When you’re ready to serve, let the cake sit at room temperature for 3-5 minutes before slicing for the cleanest cuts. And wait to add toppings like whipped cream, chocolate sauce, and sprinkles until just before serving so everything stays neat and pretty.
Recipe FAQs
Yes! Any dairy-free ice cream works great in this recipe. Just make sure you’re using a full-fat variety, lighter or low-calorie versions tend to have an icier texture when frozen and won’t give you the same creamy slices. Some of my favorite brands are So Delicious, Cado, Coconut Bliss, and Bettergoods.
Sugar cones are my favorite for the flavor and sundae vibes they bring, but you can swap them out for cookies. Gluten-free graham crackers, gluten-free Oreos, or any crunchy cookie would all work beautifully. Just combine with melted coconut oil and salt using the same method.
The loaf pan is ideal for those beautiful layered slices, but you could use an 8×8 square pan if that’s what you have on hand. Just keep in mind that the layers will be thinner and the slices will look a little different.
This cake can be made up to 2 weeks in advance and kept in the freezer until ready to serve. It’s a great make-ahead dessert for parties.
This usually happens if the crust wasn’t pressed in firmly enough before freezing. Make sure to really pack it down into the pan and give it the full 30 minutes to set in the freezer before adding the ice cream layers. Or perhaps you didn’t use enough coconut oil.
More Easy Dairy-Free Frozen Desserts You’ll Love
If you’re on a frozen dessert kick (same), here are a few more recipes to keep you cool all summer long:
- Caramel Cashew Ice Cream Bars
- Roasted Strawberry Brownie Ice Cream Sandwiches
- Cookie Dough Ice Cream Sundae Cones
- Tahini Chocolate Chip Ice Cream Sandwiches
- Superfood Ice Cream Bars
If you try this Loaf Pan Ice Cream Cake, let me know what you think by leaving a comment or rating below! Be sure to follow along on Pinterest, Instagram, and Facebook for even more yummy recipes!

Loaf Pan Ice Cream Cake (Dairy-Free & No-Bake)
- Prep Time: 15 minutes
- Freezing Time: 4 hours
- Total Time: 4 hours 15 minutes
- Yield: 10 slices 1x
- Category: ice cream
- Method: freezer
- Cuisine: american
- Diet: Vegan
Description
This loaf pan ice cream cake has a crunchy sugar cone crust, layers of dairy-free ice cream in whatever flavors you love, and all the toppings your heart desires. No baking, no churning, no fancy equipment — just press, layer, freeze, and slice. The easiest summer dessert that looks seriously impressive.
Ingredients
- 4 tablespoons coconut oil
- 12 gluten-free sugar cones
- 1/8 teaspoon salt
- 4 pints of your favorite dairy-free ice cream (I used chocolate, vanilla, blueberry, and salted caramel oat milk ice cream)
- Chocolate sauce: 2 tbsp maple syrup + 2 tsp cocoa powder
- Toppings: sprinkles, chopped nuts, whipped cream, etc.
Instructions
- Grind the cones in a food processor to coarse crumbs.
- Add the melted coconut oil and salt. Process again to a wet sand consistency.
- Line a loaf pan with a parchment paper sling.
- Spread half of the cone crumbs into the bottom of the pan, pressing in firmly. Freeze for 30 minutes.
- Top with a layer of ice cream scoops, pressing in gently.
- Cover with the remaining cone crumbs in an even layer, pressing in gently.
- Top with another layer of ice cream scoops.
- Place a piece of wax paper on top and press in firmly.
- Freeze at least 4 hours.
- Slice and serve with toppings of choice.
Keywords: dairy free, summer, easy, ice cream cone, gluten free, dairy free, no bake




Leave a Reply