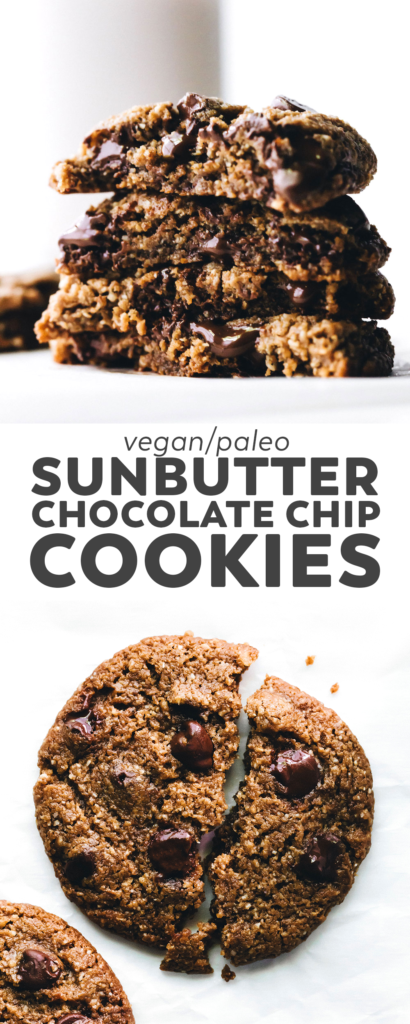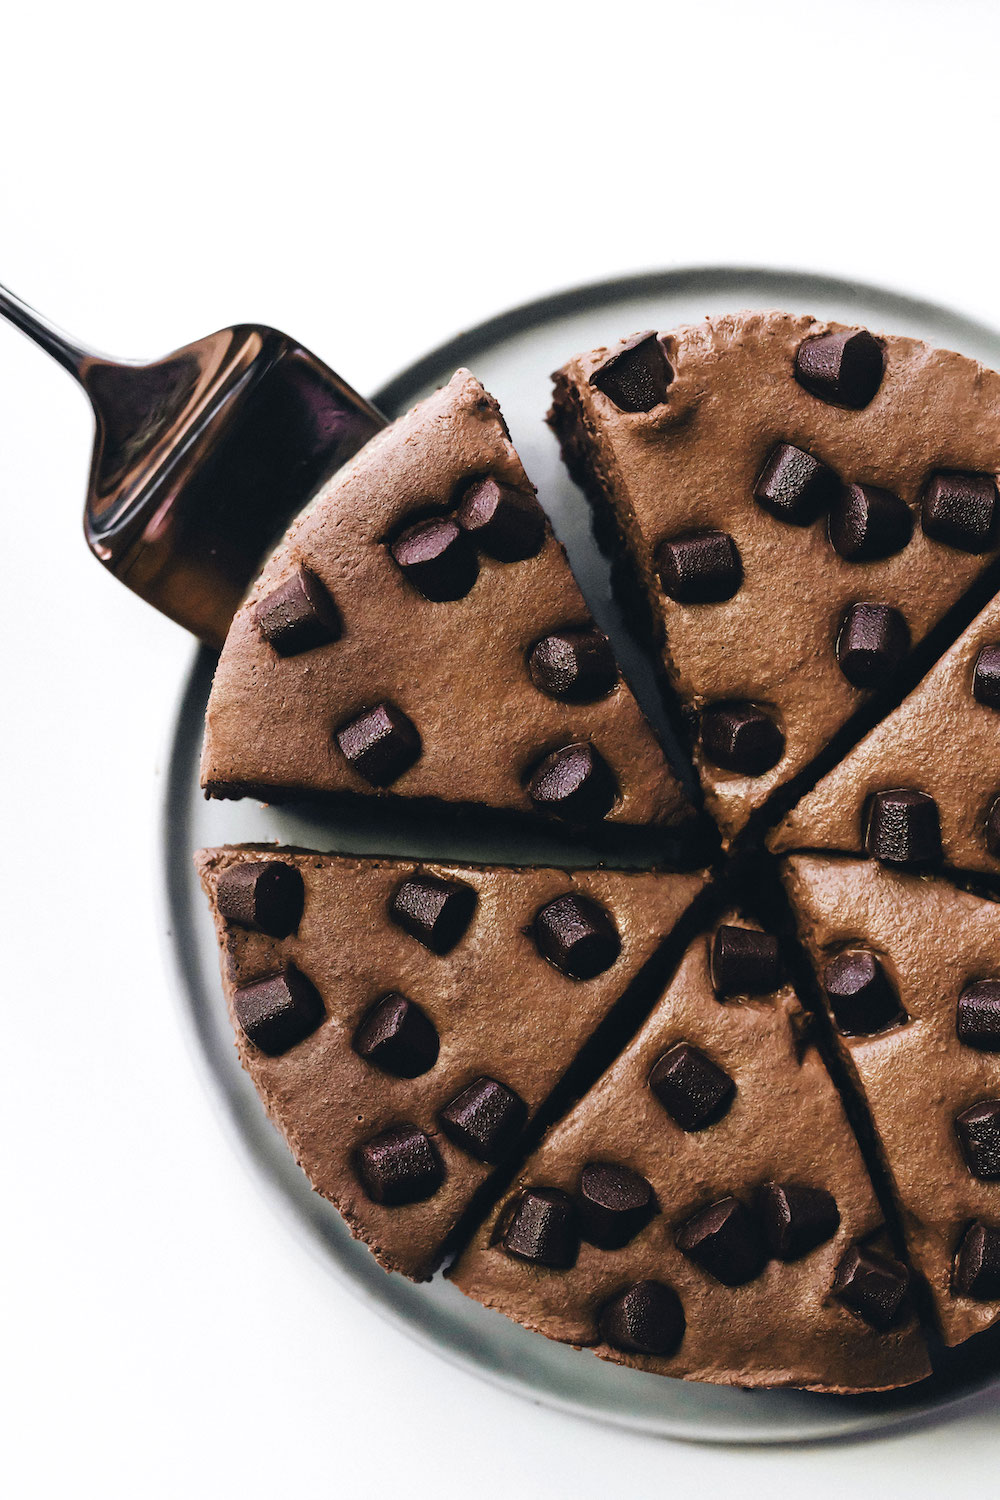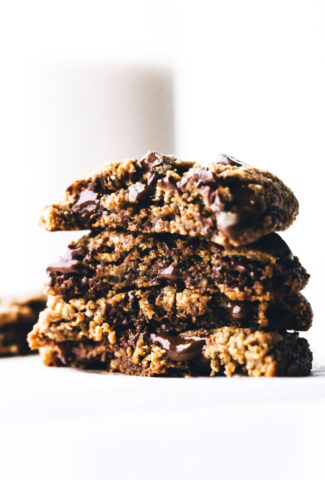
The ultimate SunButter Chocolate Chip Cookie recipe– tender inside, crispy outside, quick to make. Perfect for sharing, snacking, or ice cream sandwich-ing!

THIS POST IS SPONSORED BY SUNBUTTER®
I don’t think I could ever run out of fun, new, (sometimes weird, but good-weird) ways to use SunButter. But how about cramming that good stuff into a classic? Remake the most-made cookie but make it better with sunflower butter instead of butter butter. Let our favorite seed butter seep into every corner of those cookies and make the texture richer, the flavor deeper, the edges crispier.
You don’t have to answer that question because I already did it.
Sorry. It’s just that I knew you would say yes. Because no one (NO ONE) would say no to this cookie.
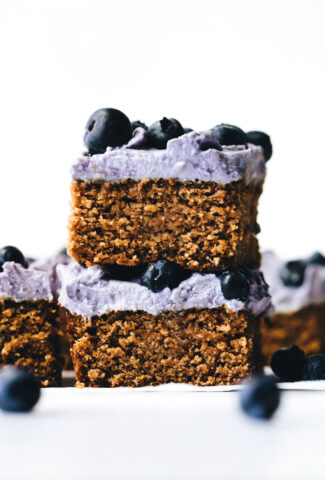
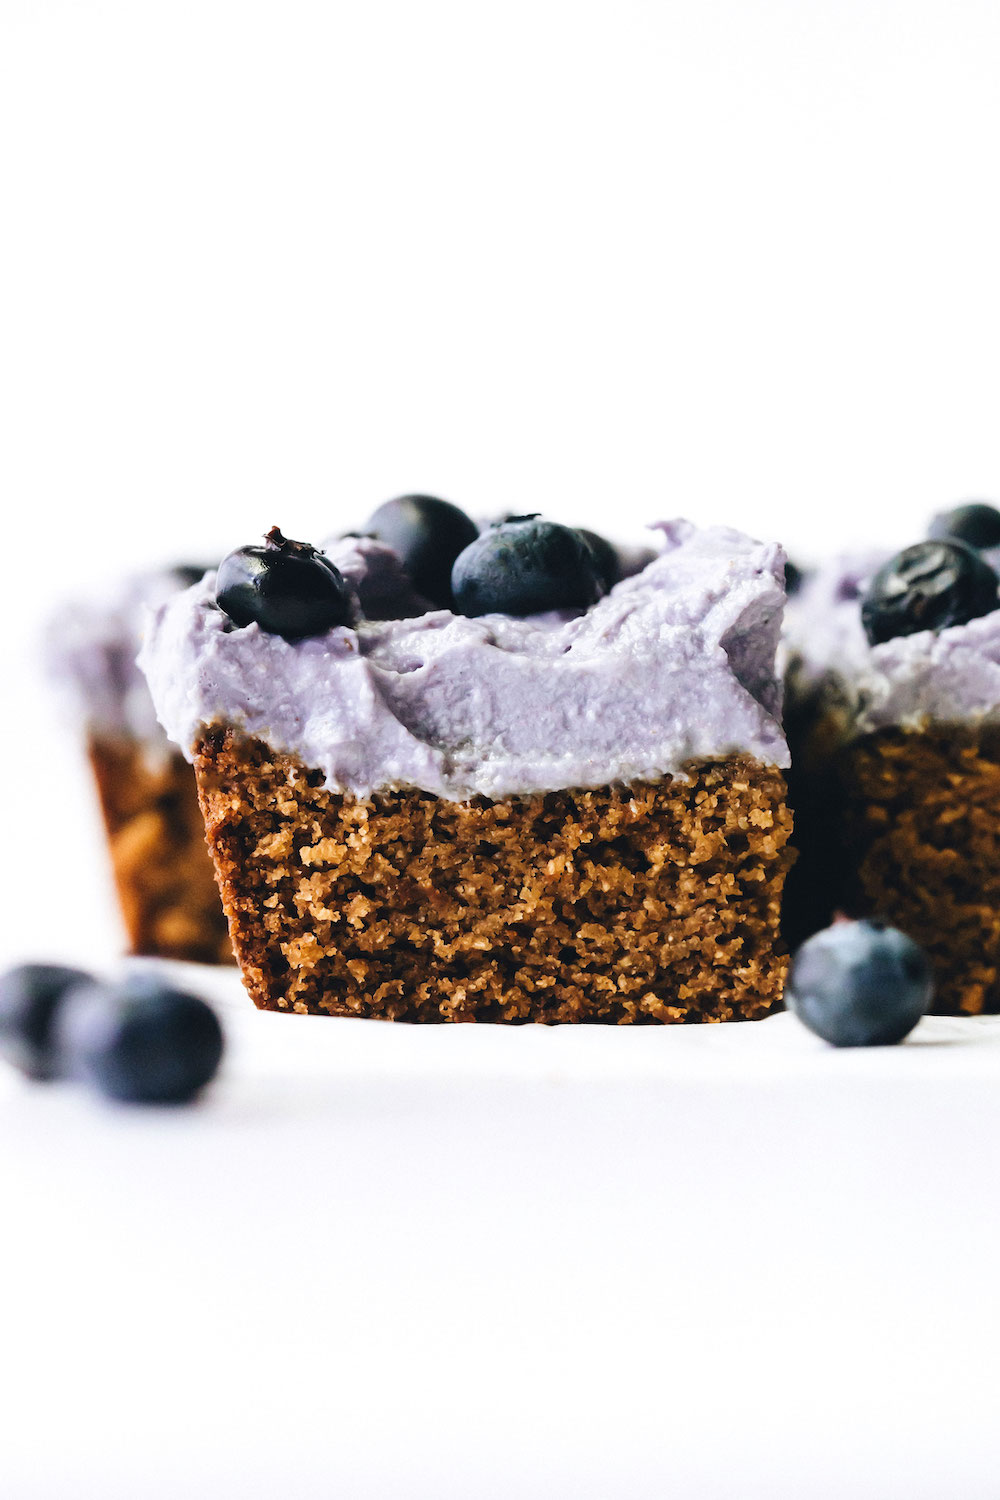
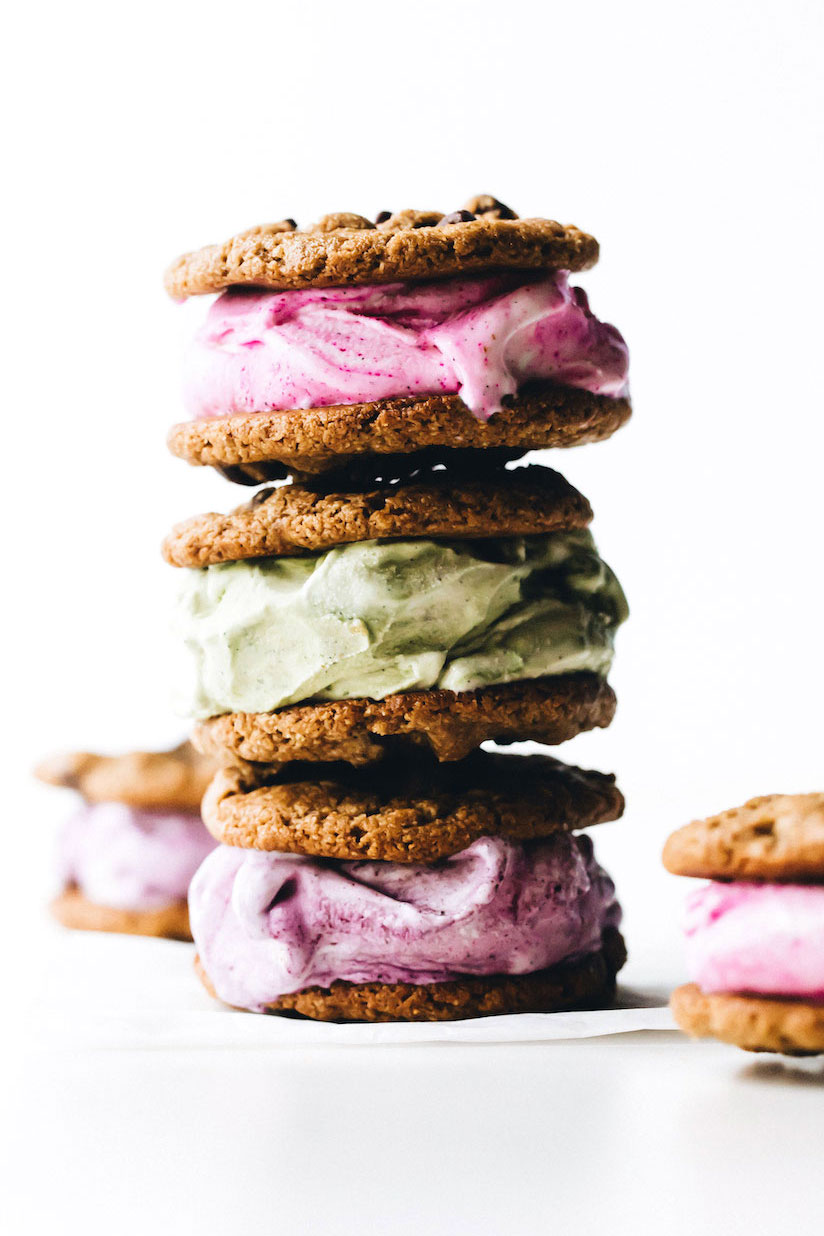
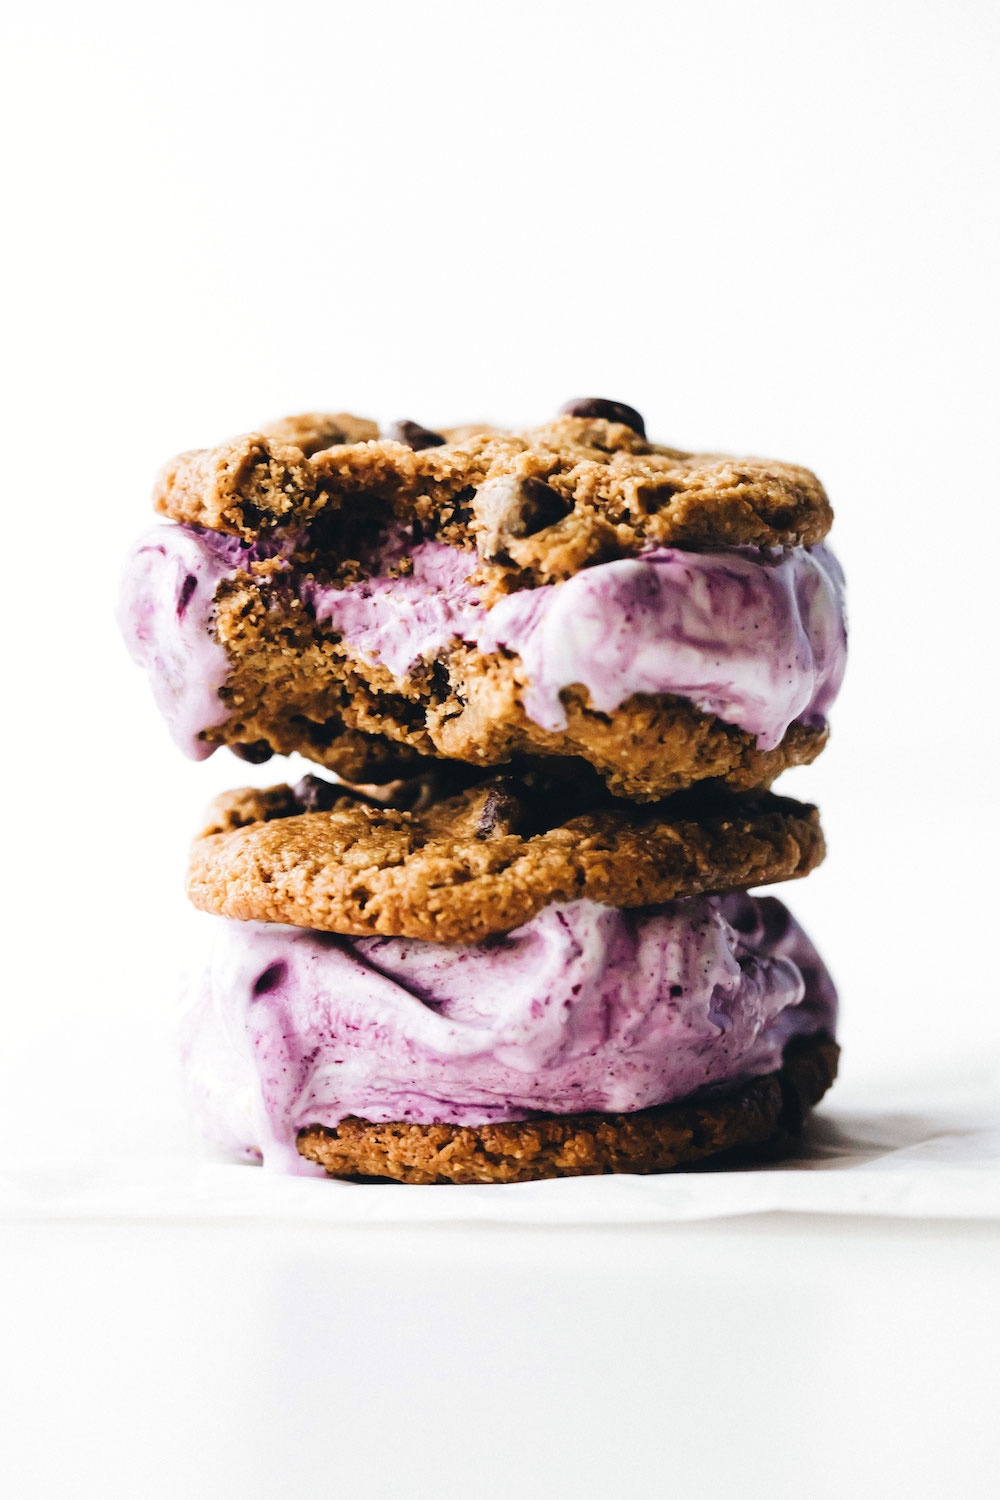
Or if someone did – grab a second cookie, smush a scoop of ice cream in between cookie A and cookie B, mind = changed.
See, I had a plan.

My requirements for these cookies were: 1) they must spread 2) they must be vegan and paleo 3) they must have crispy edges despite their chewy buttery texture. Oh and 4) can’t be green.
Checking all those boxes with just one bowl, 9 ingredients, and less than half an hour!
So we’re gonna break this down real quick:
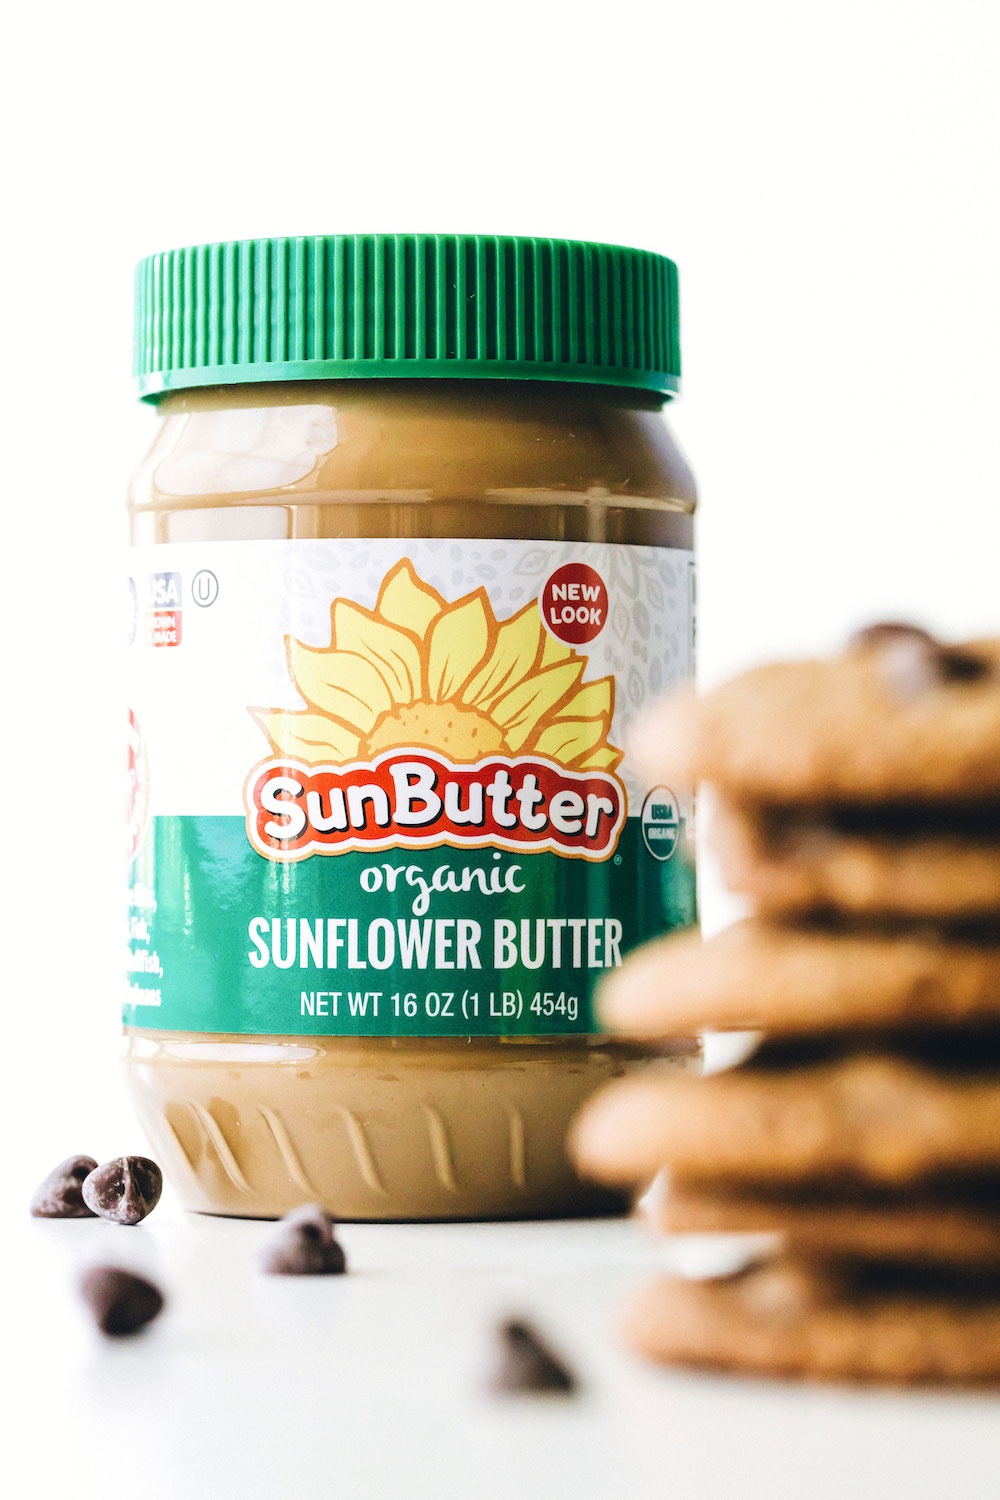
- SunButter. Unsweetened preferably, I used the organic (green jar). This is what makes the texture rich, buttery, moist, chewy but crispy, perfect, irresistible…you get it.
- Flax egg. Or a real egg would work if not vegan.
- Coconut sugar. Key for those crispy edges.
- Lemon juice. So they don’t turn green (only skip if monster cookies is your goal). You won’t taste it!
- Vanilla.
- Salt.
- Baking soda.
- Almond flour. I tried with oat flour and a paleo flour mix, but they were too soft/chewy and didn’t spread with either.
- Chocolate chips.
- More chocolate chips on top.
Okay maybe that wasn’t quick. But I need you to know what you are getting yourself into so you don’t blame me when you’ve made three batches in one week. It happens.

And if it’s as hot where you are as it is here, you’ll be wanting to try this consumption technique…
My FAVORITE chocolate chip cookie recipe I’ve ever created.
There, I said it. Now I pass it to you – go forth, bake, and devour.
SunButter Chocolate Chip Cookies
- Prep Time: 15 minutes
- Cook Time: 12 minutes
- Total Time: 27 minutes
- Yield: 18 cookies 1x
- Category: cookies
- Method: baking
- Cuisine: american
Description
The ultimate SunButter Chocolate Chip Cookie recipe– tender inside, crispy outside, quick to make. Perfect for sharing, snacking, or ice cream sandwich-ing!
Ingredients
- 1 flax egg (1 tbsp flax meal + 3 tbsp water)
- 3/4 cup (185g) Organic SunButter
- 1/2 cup (75g) coconut sugar
- 1 tbsp lemon juice
- 1 tsp vanilla extract
- 3/4 cup (90g) almond flour
- 1/2 tsp baking soda
- 1/2 tsp salt
- 1/2 cup (90g) chocolate chips
Instructions
- Preheat the oven to 350ºF.
- Mix together the flax and water, and set aside to gel.
- In a mixing bowl, whisk together the SunButter, coconut sugar, flax egg, lemon juice, and vanilla.
- Add the almond flour, baking soda, and salt. Mix to form a thick dough.
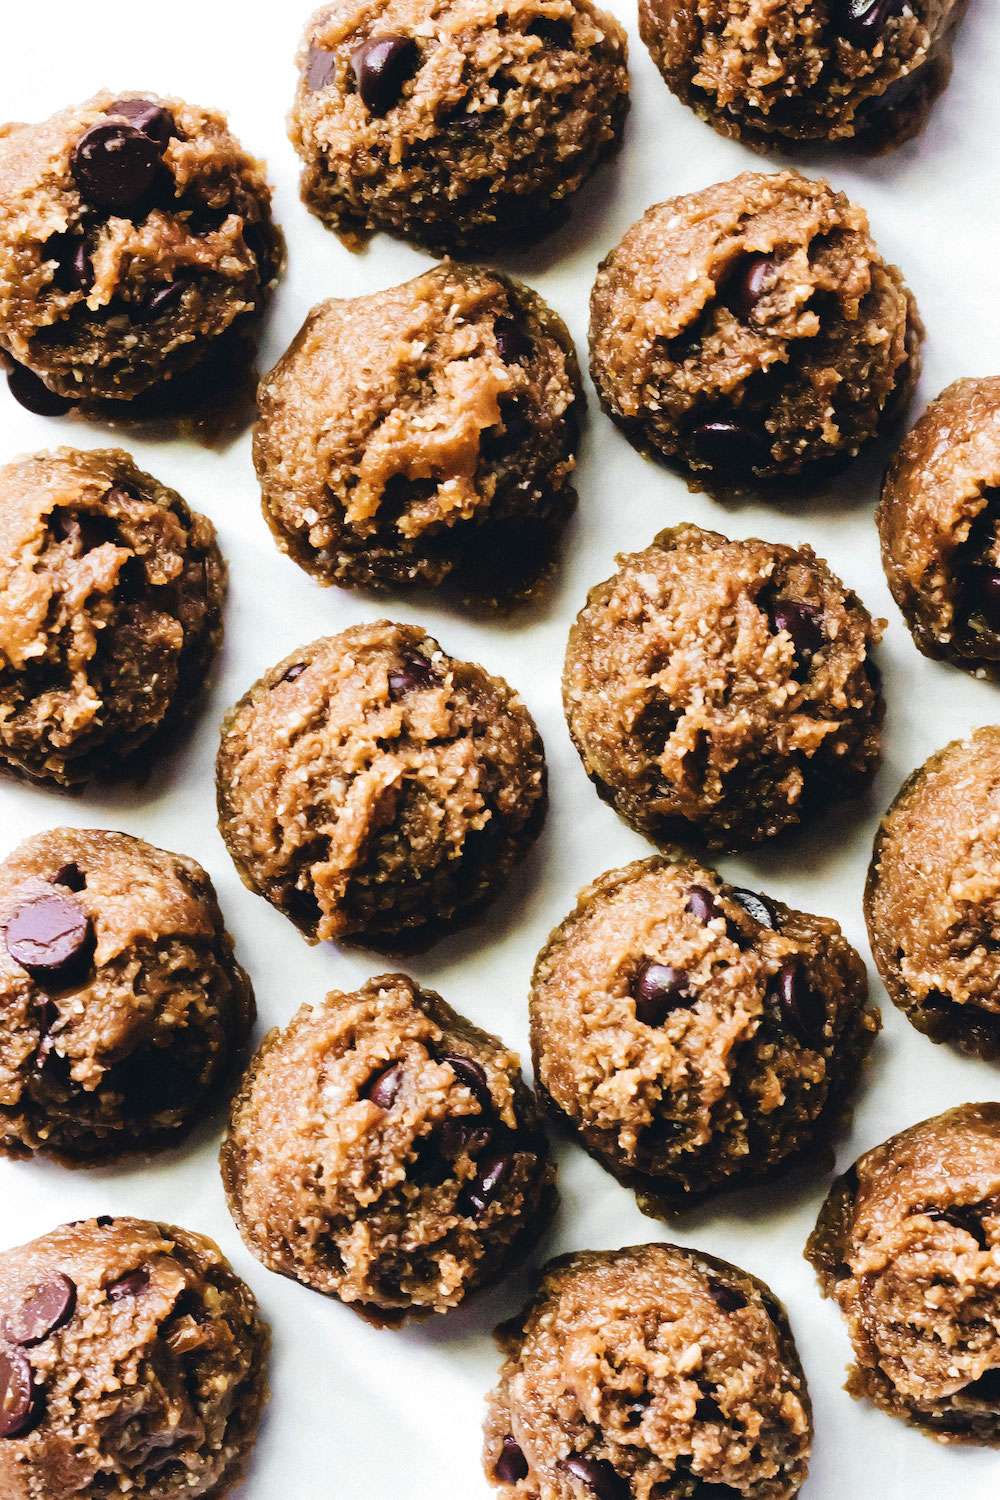
- Fold in the chocolate chips.
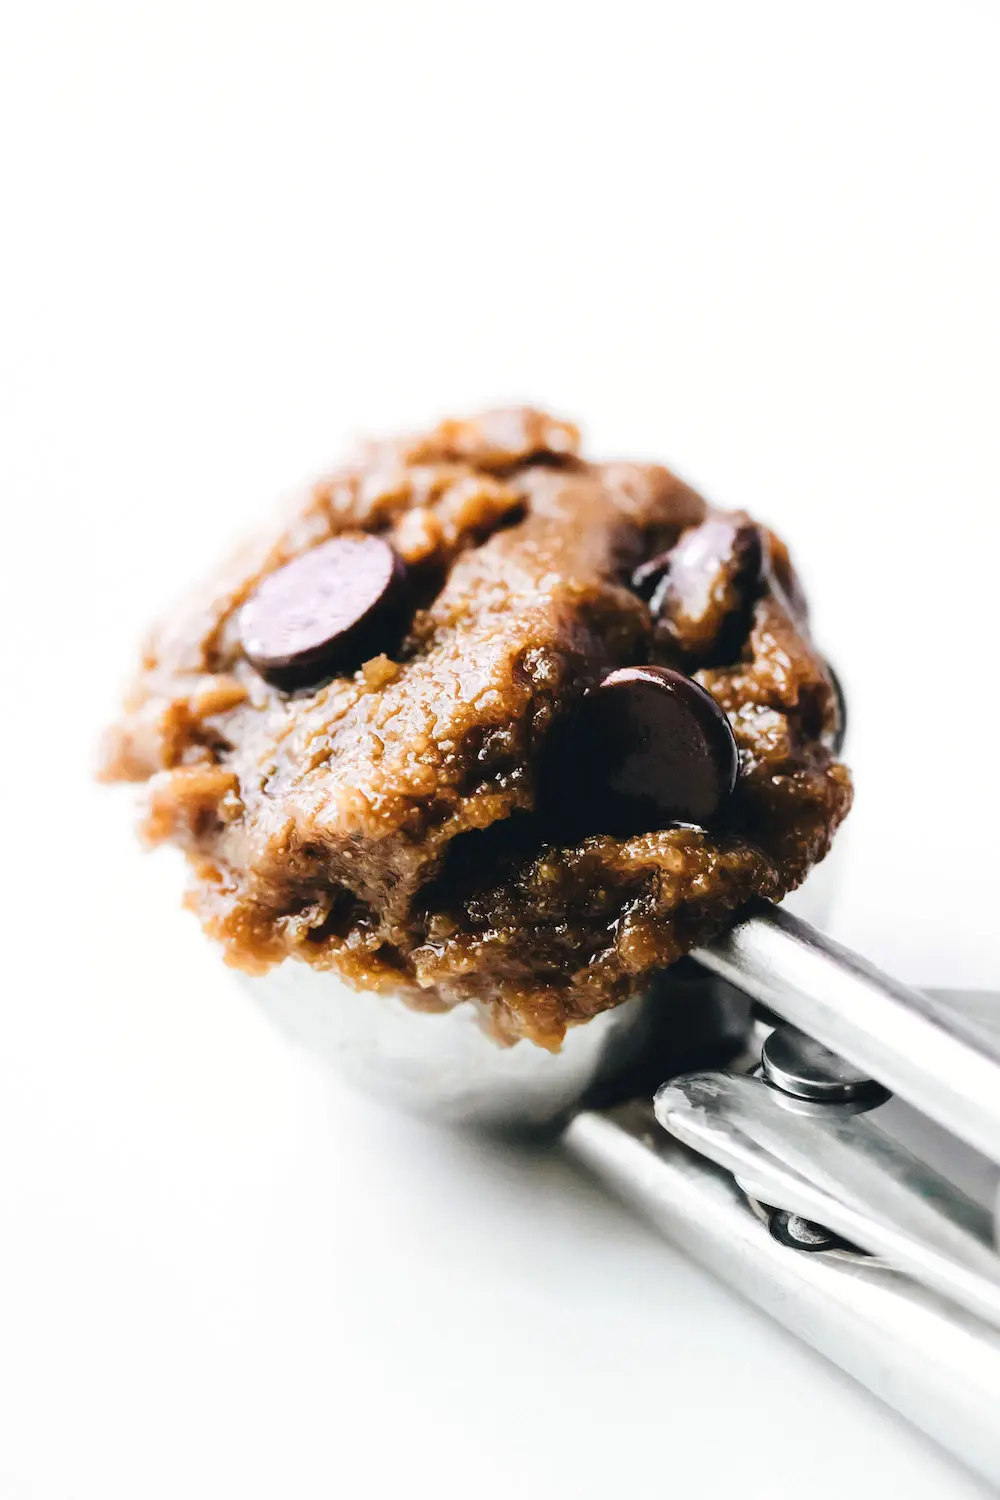
- Roll into balls. Arrange on a baking sheet lined with parchment paper. Press to flatten slightly.
- Bake for 12-13 minutes at 350ºF or until golden around the edges.
- Remove from the oven, and cool for 5-10 minutes before removing from the pan.
- They are delicious hot from the oven, but keep best in an airtight container in the fridge (or freezer for longer storage)
Nutrition
- Serving Size: 1 cookie
- Calories: 216
- Sugar: 8g
- Sodium: 104g
- Fat: 15g
- Saturated Fat: 2g
- Carbohydrates: 13g
- Fiber: 3g
- Protein: 6g
Keywords: vegan, gluten free, nut free, paleo, chocolate, baking, dessert, healthy, snack
CLICK BELOW TO PIN